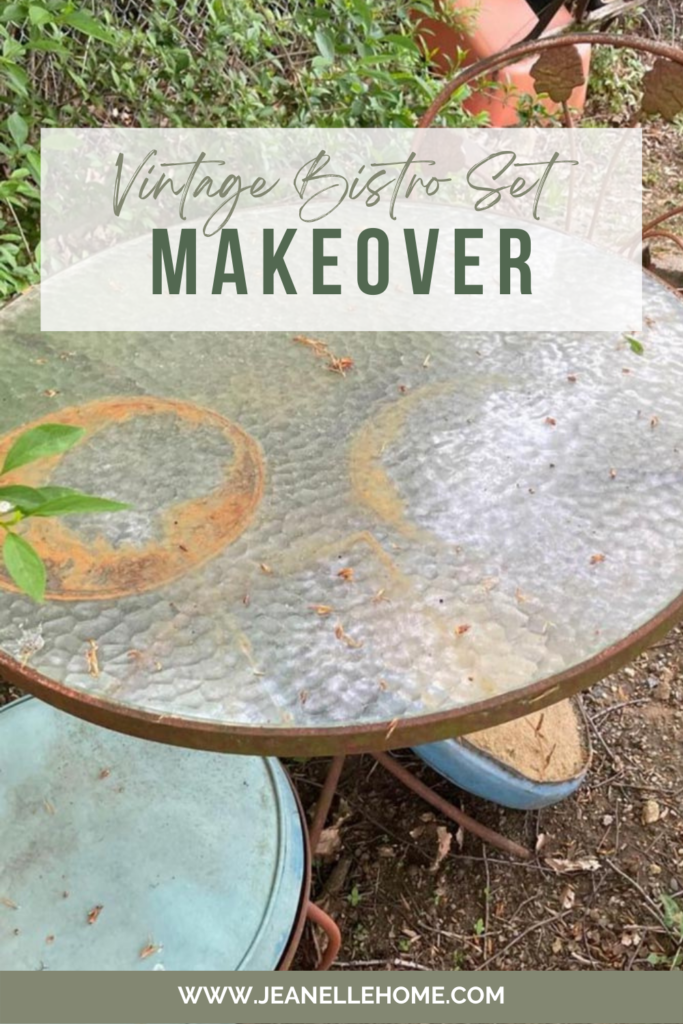
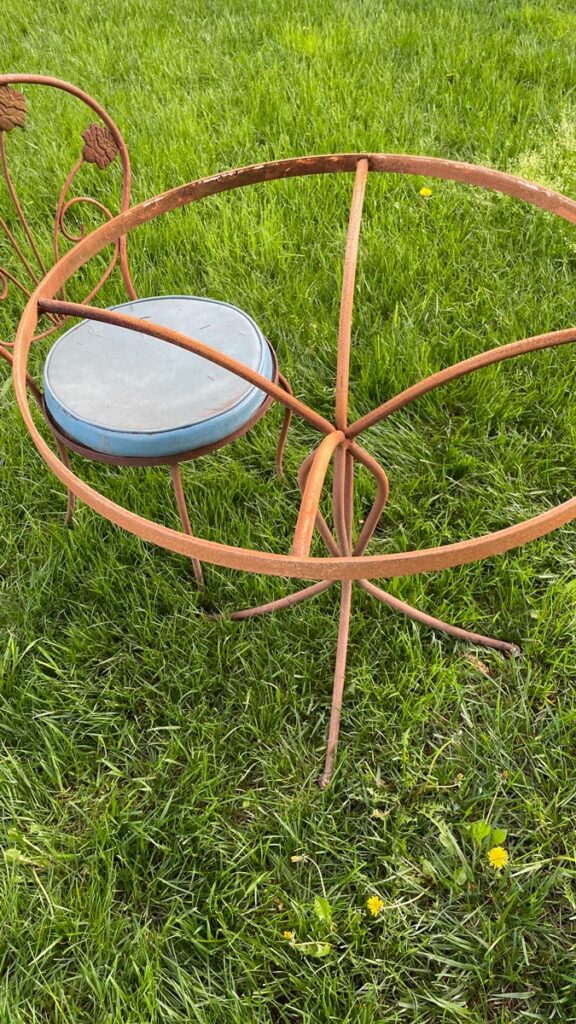
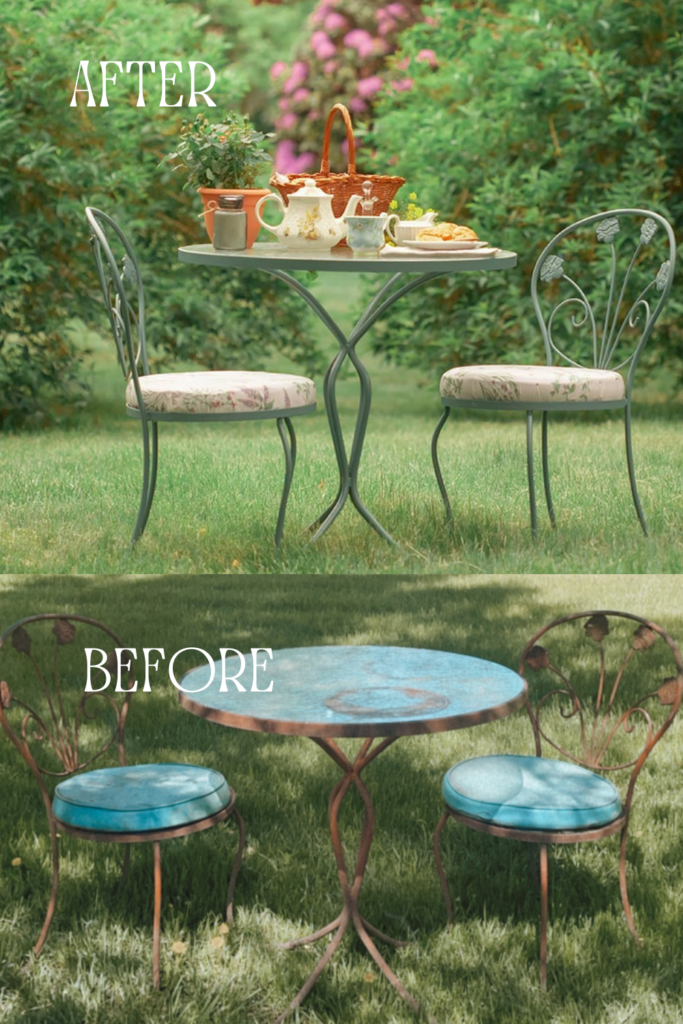
I have been on the lookout for a vintage bistro set for my garden. I was totally fine giving one a fresh makeover! As luck would have it, this one popped up on Facebook marketplace for only $10. I could immediately see it’s potential. One of my favorite things to do is to bring old things back to life and keep them out of a landfill. This set was so beat up and covered in rust. So I decided to get my hands dirty and give this old vintage bistro set a makeover.
The seller told me it was her grandmother’s old set. I immediately began to imagine the conversations that may have been had over tea, at this little table. In my mind, I imagined a woman sitting here, chatting with her friend, sharing good times, sad times and just ordinary, everyday stuff, as their children ran around in the grass. I always make up stories when I get an old thrifted thing. I try to imagine it’s history and the people who owned it before. It makes it that much more charming to me. Well, I am sure you would like to see the outcome and the steps I took to give this table and chairs a makeover, so I’ll get on with it.
Steps to Makeover a Rusty Vintage Bistro Set
This post contains affiliate links, which means I receive a small commission, at no extra cost to you, if you use this link.
Step 1: Sanding
First, I sanded the whole set. I went in with a coarse grit #60. I removed the glass top and seat covers and put it off to the side temporarily. This allowed me to get in to sand all the nooks and crannies. I went back with #120 and the #180 grit.
After sanding the table and chairs thoroughly, I cleaned it all with soapy water and the hose. Then I set it out in the sun to dry completely.
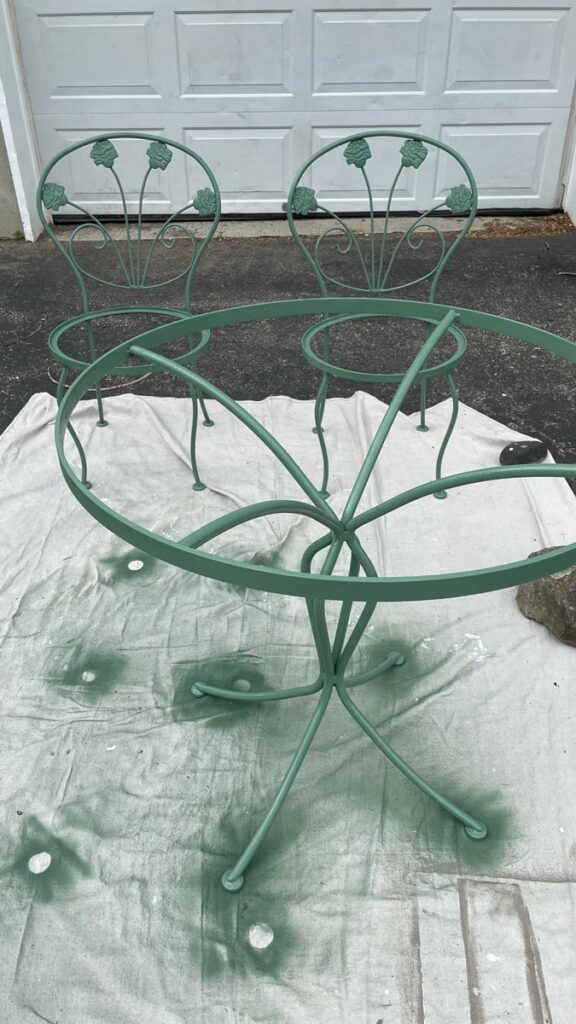
Step 2: Spray Painting
Next, it was time to spray paint. Rust-oleum 2X Ultra Cover Matte Spray Paint in Moss Green is what I used. I gave it two coats and that covered everything very well.
Step 3: Rebuilding the Seats
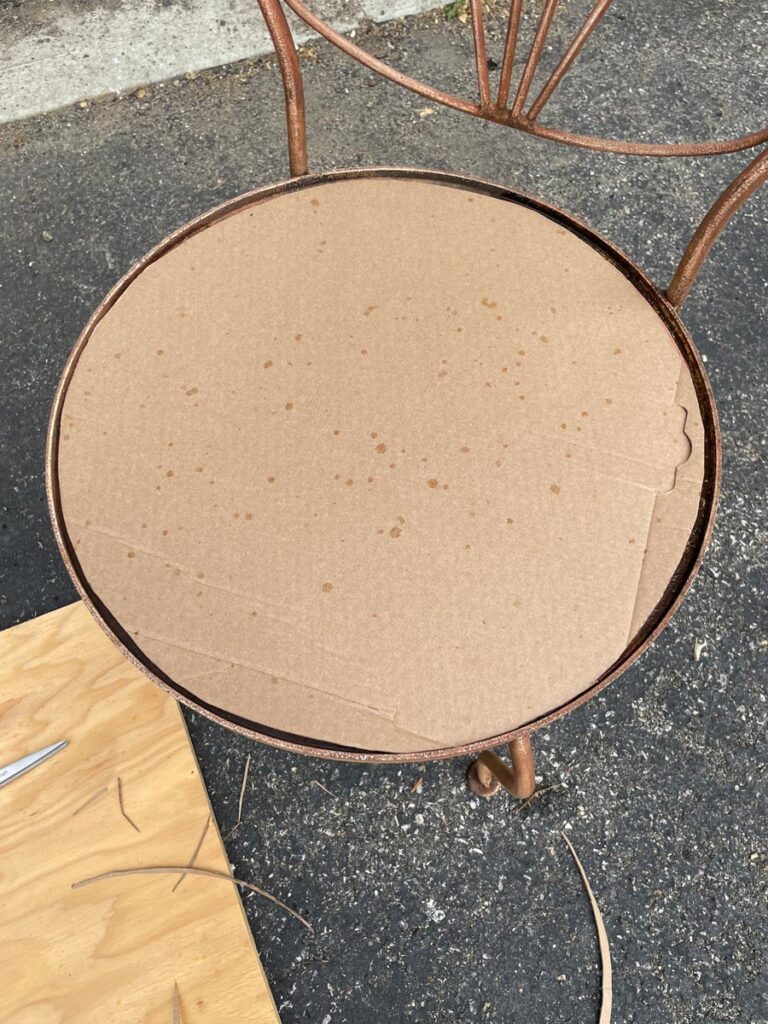
At this point, it was time to address the seats. The wood had disintegrated and the seat fabric was non salvageable. I was going to need to replace it all. So first I created a template out of cardboard.
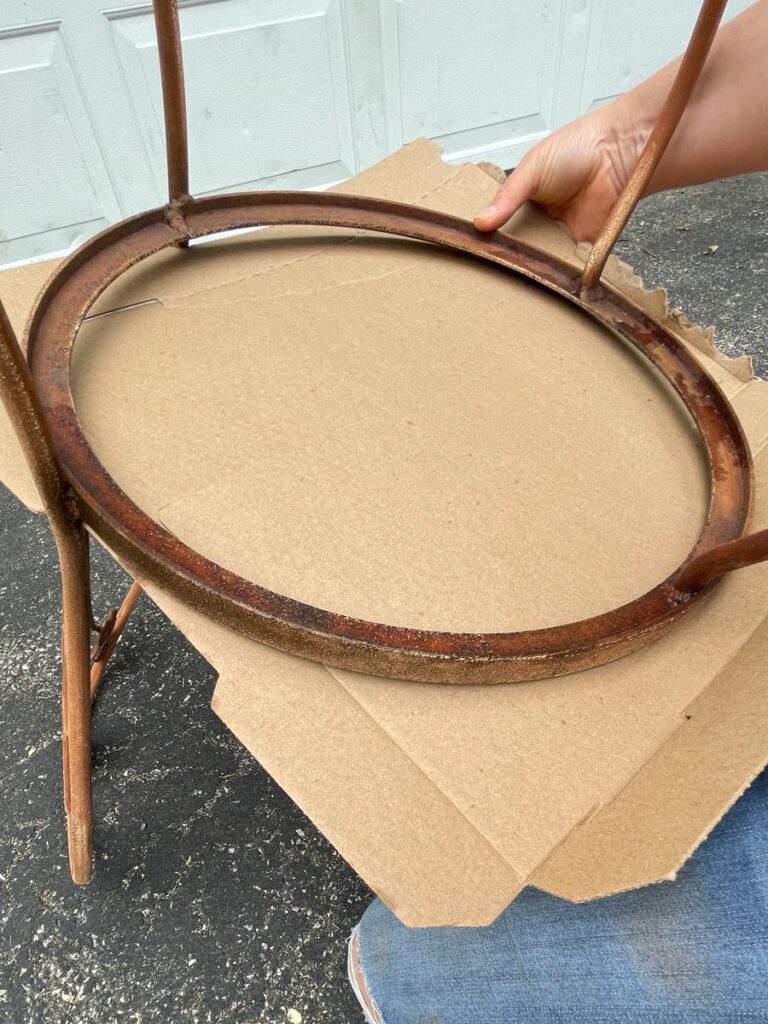
I traced around the outside of the chair and cut just inside the line so it would fit well inside the supportive lip of the chair.
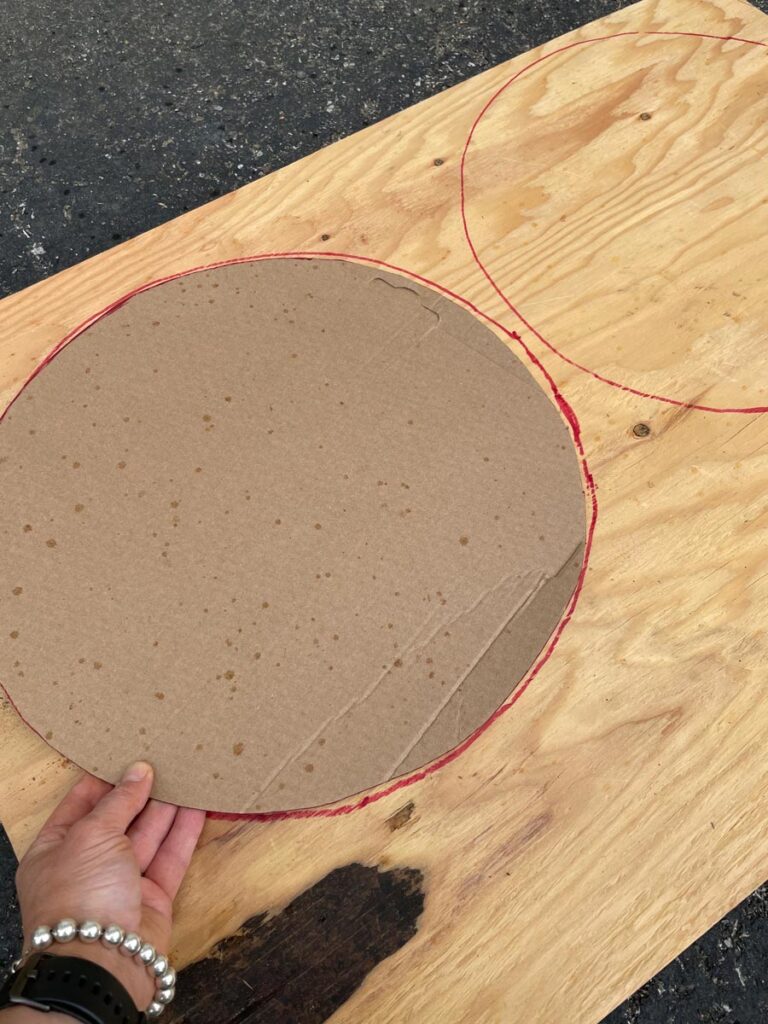
I had an old scrap of plywood lying around from a previous project. It just so happened to be the perfect size to make two new seat bases. So I traced my cardboard template onto the plywood so I could cut out the circle.
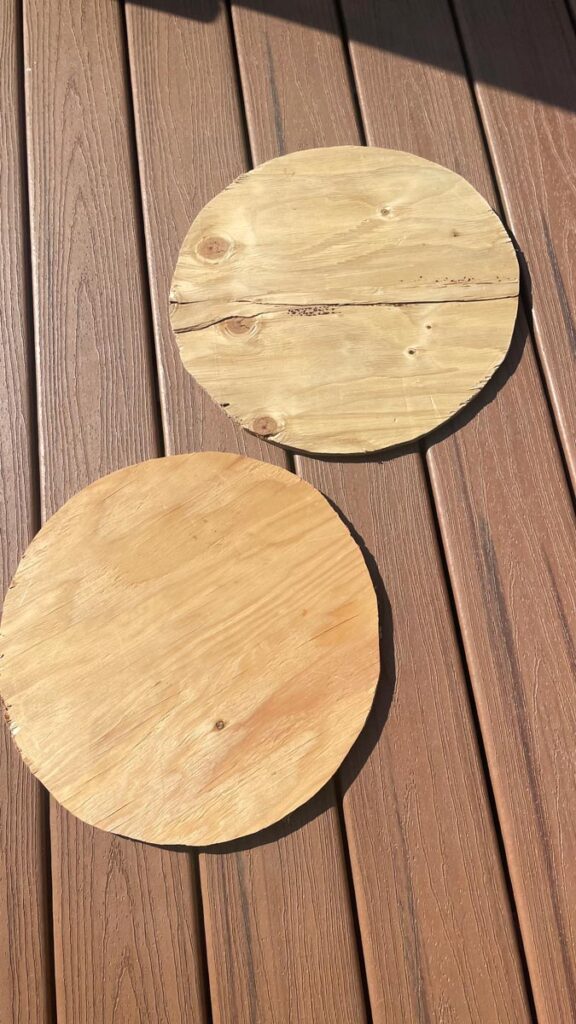
Below you can see the plywood cut out to create a new seat base.
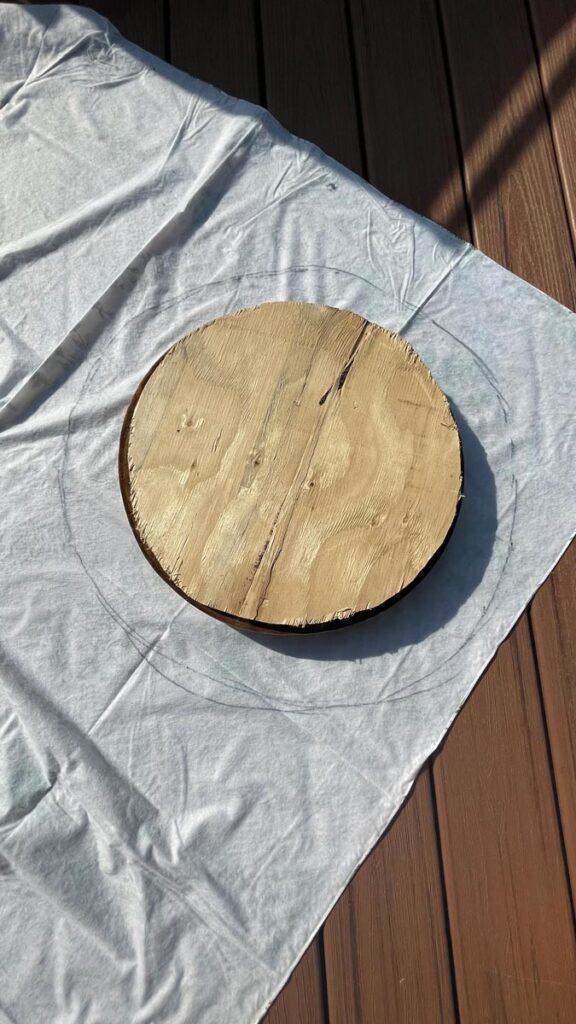
I reused the foam inside the original seats. They were pretty dirty and gross, but I washed them out in my sink with baking soda, vinegar and lots of soap. I ended up using an outdoor tablecloth to recover the seat. Sometimes it hard to find the perfect fabric, I wanted to take my time finding a pattern of fabric that I really liked, so this was a great temporary solution.
Next, I cut the fabric and stapled it down to the underside of the seat. Then I reattached the chairs.
Then I popped the glass table top back in and gave it a good scrub with windex and a non abrasive sponge.
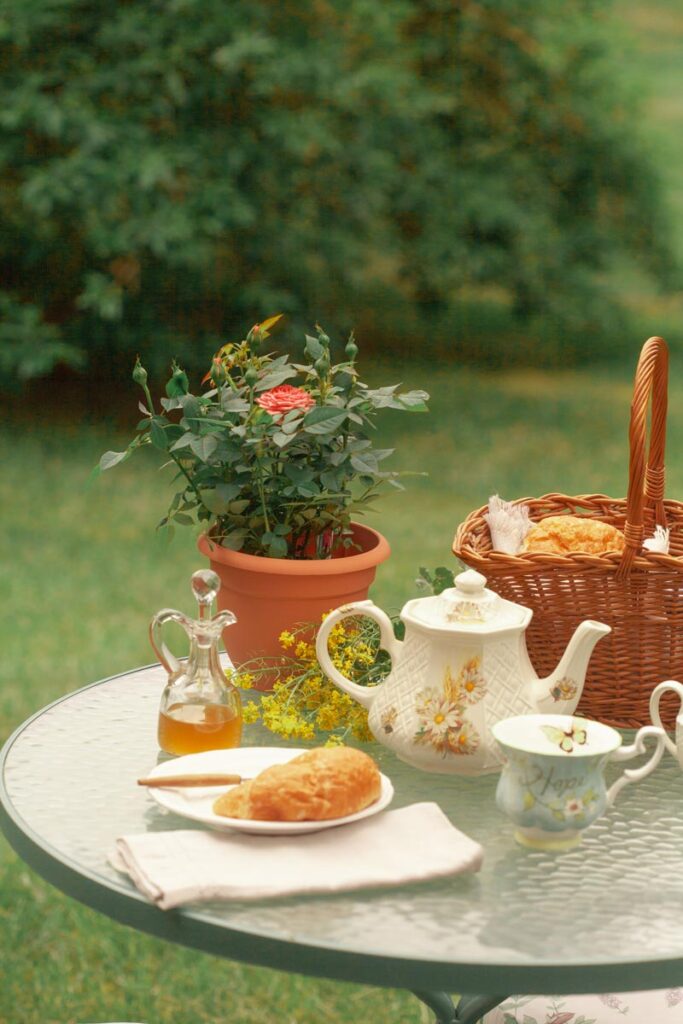
The finished result!
I am so excited about how this vintage bistro table came back to life! It is so charming and perfect for a tea party!
Click here to see my Vintage Mirror Makeover…..