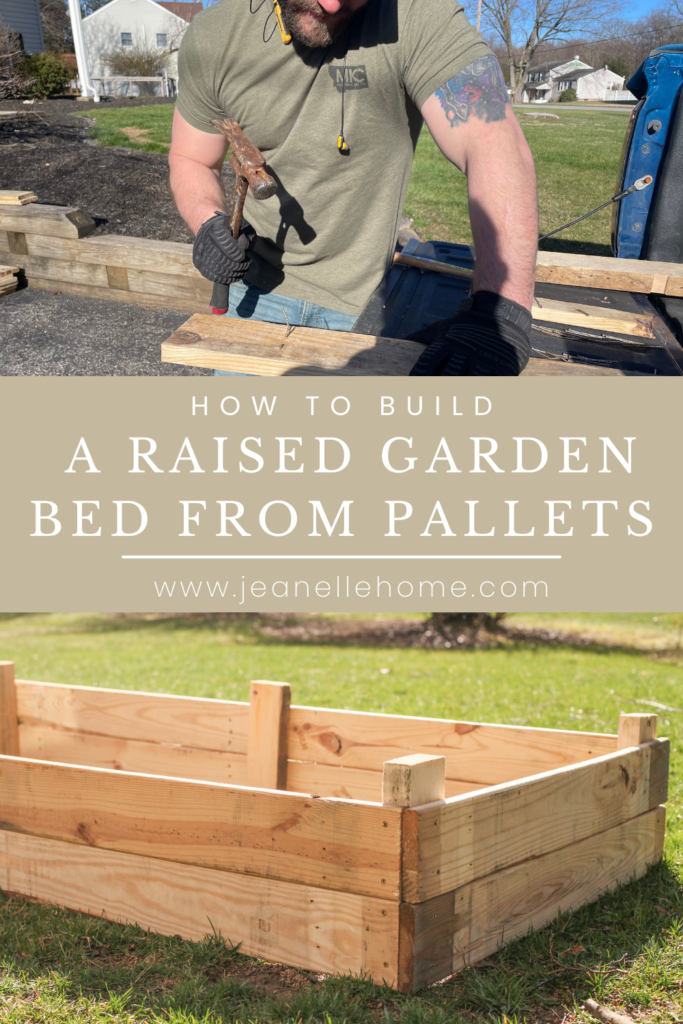
Learn how to build a raised garden bed using pallets. These are super easy and can be completed in a weekend or less (with two people). The best part is these beds cost practically nothing to make.
This post contains affiliate links, which means I receive a small commission, at no extra cost to you, if you use this link.
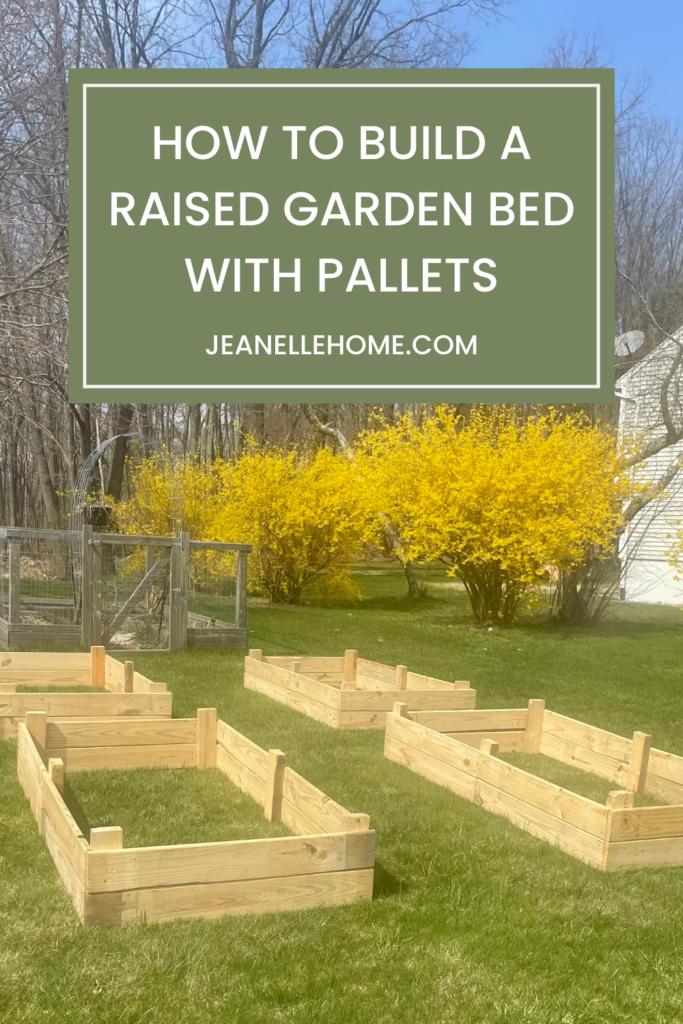
This year I decided I wanted to expand my garden spacing by building four new raised beds to my existing garden space. My problem was trying to budget for all of that extra wood. We have multiple projects going on around here, and to be honest I didn’t want to lay out the cash for cedar (which was my first choice). Then I had an idea. I always see free pallets on Facebook Marketplace! That’s when I came up with a plan. I was going to build raised garden beds using FREE pallets!
I knew I wanted to grow quite a bit more herbs and vegetables in the garden this year. If you know me you know it means everything to me to eat clean, organic food. I love picking fresh produce from my garden so I can cook fresh healthy meals for my family. I also enjoy including my kids in the garden chores and they LOVE picking the harvest.
Honestly, I was kind of surprised by how incredibly easy these garden beds were to build! I am by no means someone who builds things on a regular basis and I was still able to do a majority of this all by myself.
Now before we start, I want to tell you. These beds will probably get you through a few seasons but not be super long-lasting. Ideally, I want something rot-resistant like cedar, but if you are on a tight budget, want something right now, and have some time on your hands, then this is the way to go! My plan is to build up a cedar frame around this a couple of years down the line. Are you ready? Let’s get started…
What Kind of Pallets Should You Use to Build a Raised Garden Bed?
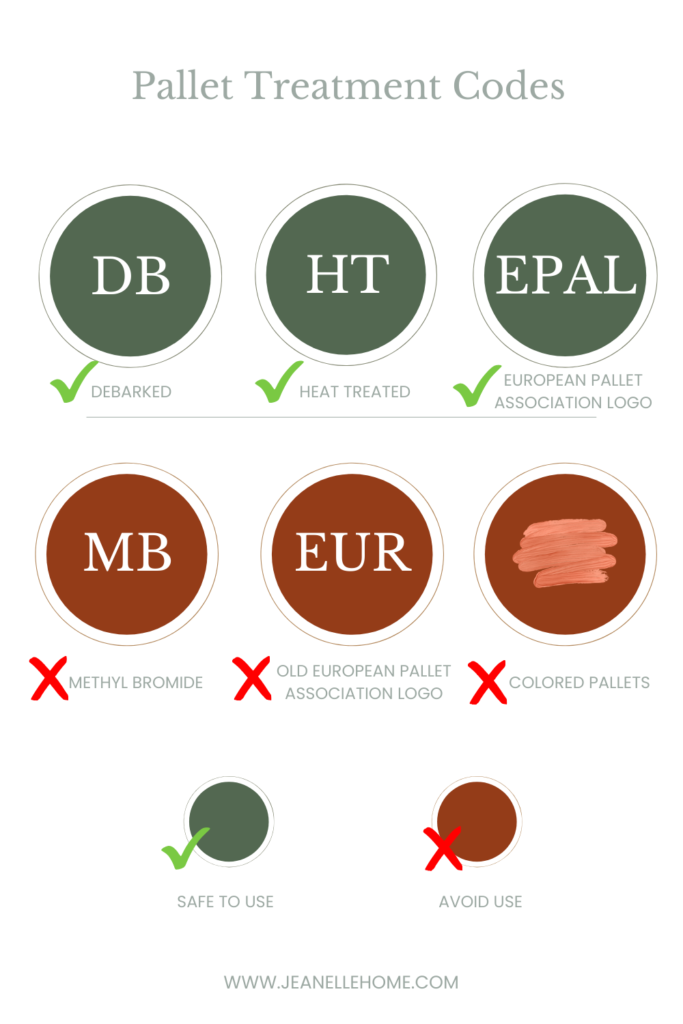
You probably have some questions about what kind of pallet will work best. Not only that but more importantly, which are actually safe to use. These were some of the first thoughts that crossed my mind. The last thing I wanted was dirty chemicals leeching into my food and I’m sure you feel the same. I did some research and found out there are helpful codes on the pallets. I created this cute little infographic to help you to distinguish the differences between what’s safe and what to avoid.
Different Pallet Codes
Pallet Size
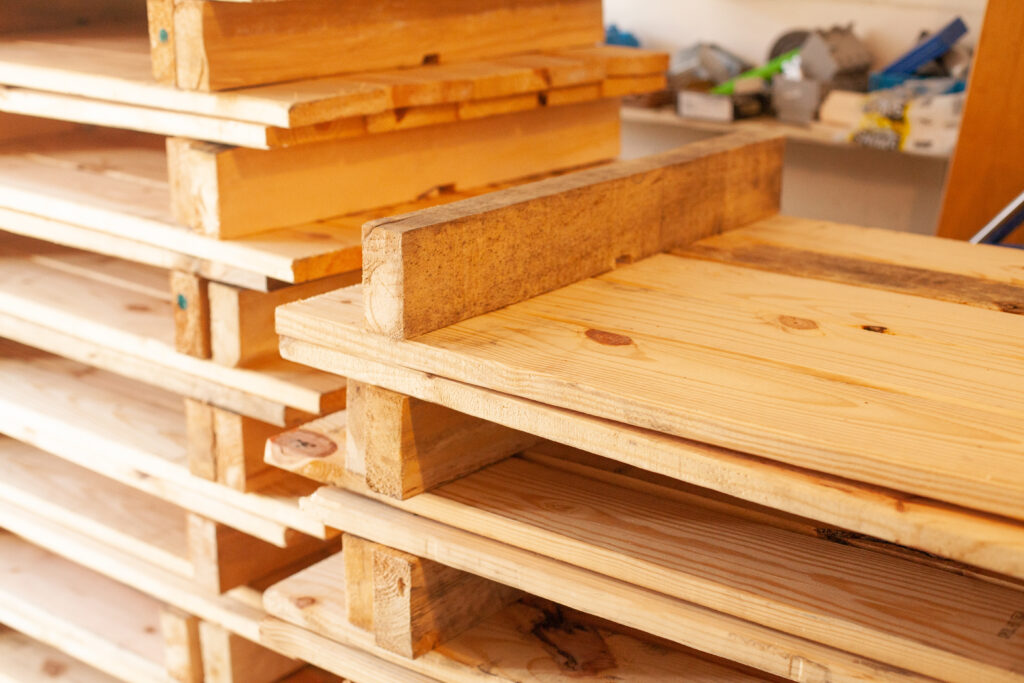
Let’s go over pallet size. There are tons of different pallets out there. My pallets measured about 27″ x 41″ and looked like the ones in the photo below. As you can see these have pretty solid wood.
I would recommend finding something similar to these for your project if you can. No worries if you can’t, you can still build a raised garden bed with another type of pallet, yours just might be slightly different in size. In that case, all you have to do is adjust your plan a bit in order to get the dimensions you are looking for.
For reference, each of the usable boards on my pallets measured 41″ x 5 1/4″. I used 12 of those boards per bed. Also, used the runner boards from underneath the pallet to create 6 “posts”. Those posts create the support for the beds and anchor your boards.
What You’ll Need to Build Your Raised Garden Bed out of Pallets:
Let’s get your material list together first! I am going to include what I used to build one raised garden bed. Consequently, if you are building more than one bed you can just multiply these numbers by however many beds you want to build.
- Circular saw or Miter saw
- Drill
- Screw driver bit
- Drill bit (optional)
- Deck Screws
- Pallets (3 pallets per bed)
Build Raised Garden Bed From Pallets Tutorial
Prepare Your Pallets
The first thing you will need to do is disassemble your pallets. Just remember, this is probably the most time-consuming and tedious part, so hang in there!!
Be sure to remove all old nails from your pallet boards.
After your pallets are disassembled, gather all of your wood pieces together. You will need a total of 12 pallet boards plus 3 runner boards per garden bed (running boards will make the posts, explained in the next step).
Measure the runner boards (the boards from the underside of your pallet) and mark them at the halfway point. Cut 3 boards to make 6 posts (again, if your pallets are a different size than mine, determine the height that you want your bed will be and cut accordingly.) Most importantly, these will be used as posts to hold your boards at the four corners of your garden bed as well as halfway down the sides to secure the boards on the long sides, end to end. (This will make sense as we go on.) If your runner boards to not thick enough you could use 2x4s
If you’re pre-drilling holes do this now. I personally skipped this step.
Assemble Your Bed
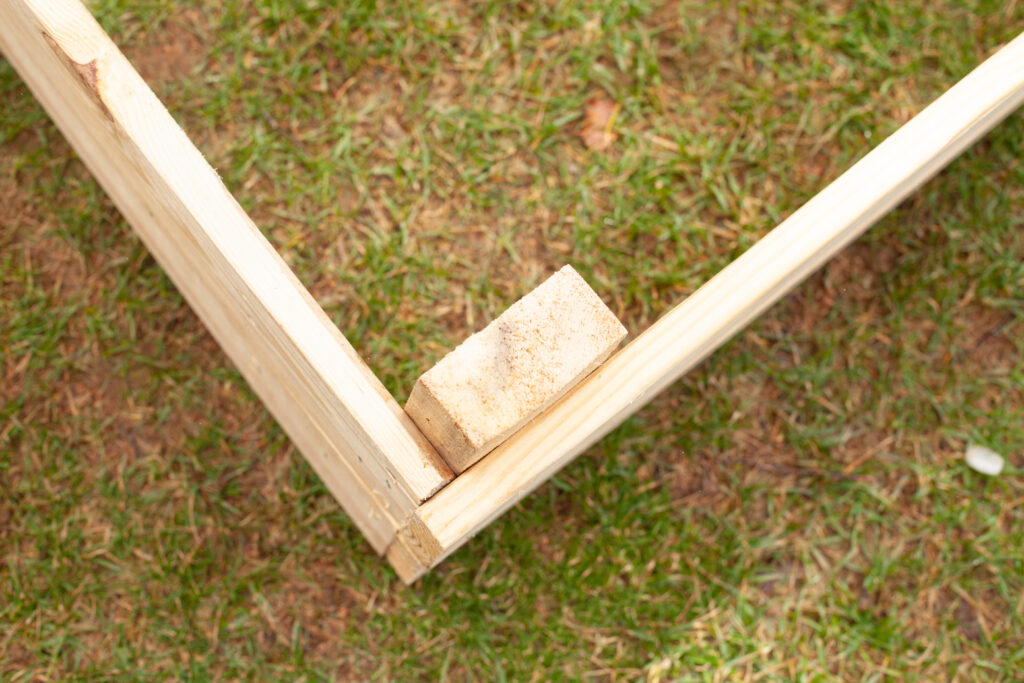
Find a flat surface to work on like a driveway. Line up one post and one pallet board. Attach by drilling the board into the base of the post.
Take a second pallet board. Line it up to the board and post you just joined together. This should create a 90 degree angle with the first pallet board. Drill second board to post to secure.
Now you should have two pallet boards joined to one post creating an “L” shape.
Drill a second post to the end of one of the pallet boards. This should create almost a square shape minus the fourth side.
Next, bring a third post to the open end of the garden bed and screw the end of the board to the post, leaving room to attach another board to the post. This will become one of the long sides of your garden bed.
After that, line another pallet board up, end to end to the board you last screwed in. Drill to the center post.
Now, you will attach another corner post to the end of that long side you just built.
At this point you will adding another board to the post going horizontally creating the other short end of the bed.
Add the last corner post by screwing it into the other end of the pallet board in the last step. This will create the other short end of the bed.
Next, you will work your way back up the opposite long side to finish your bed by adding another board to the center post. Finally, finish the rectangle by drilling to the post where you began.
Add a second round of pallet boards on top of the first row, attaching all the posts as before.
Your Bed is Complete
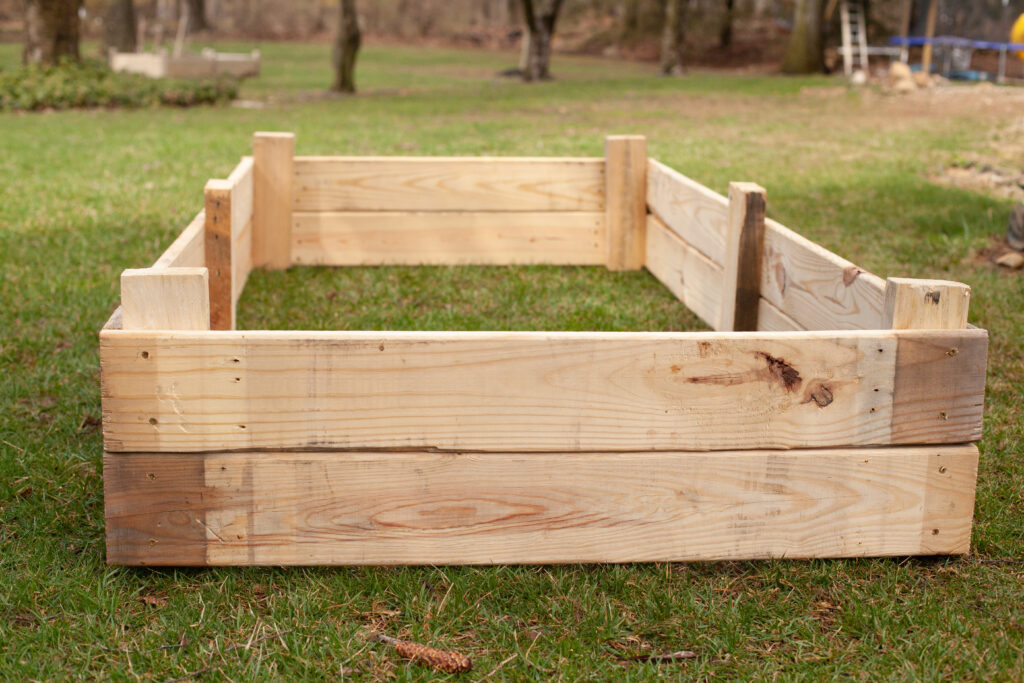
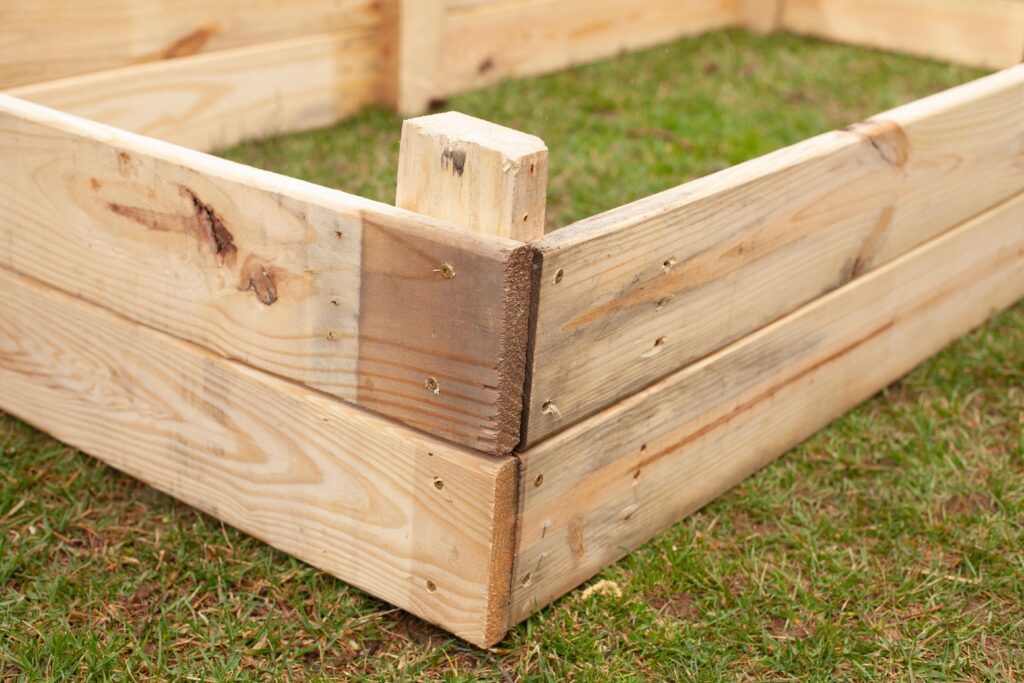
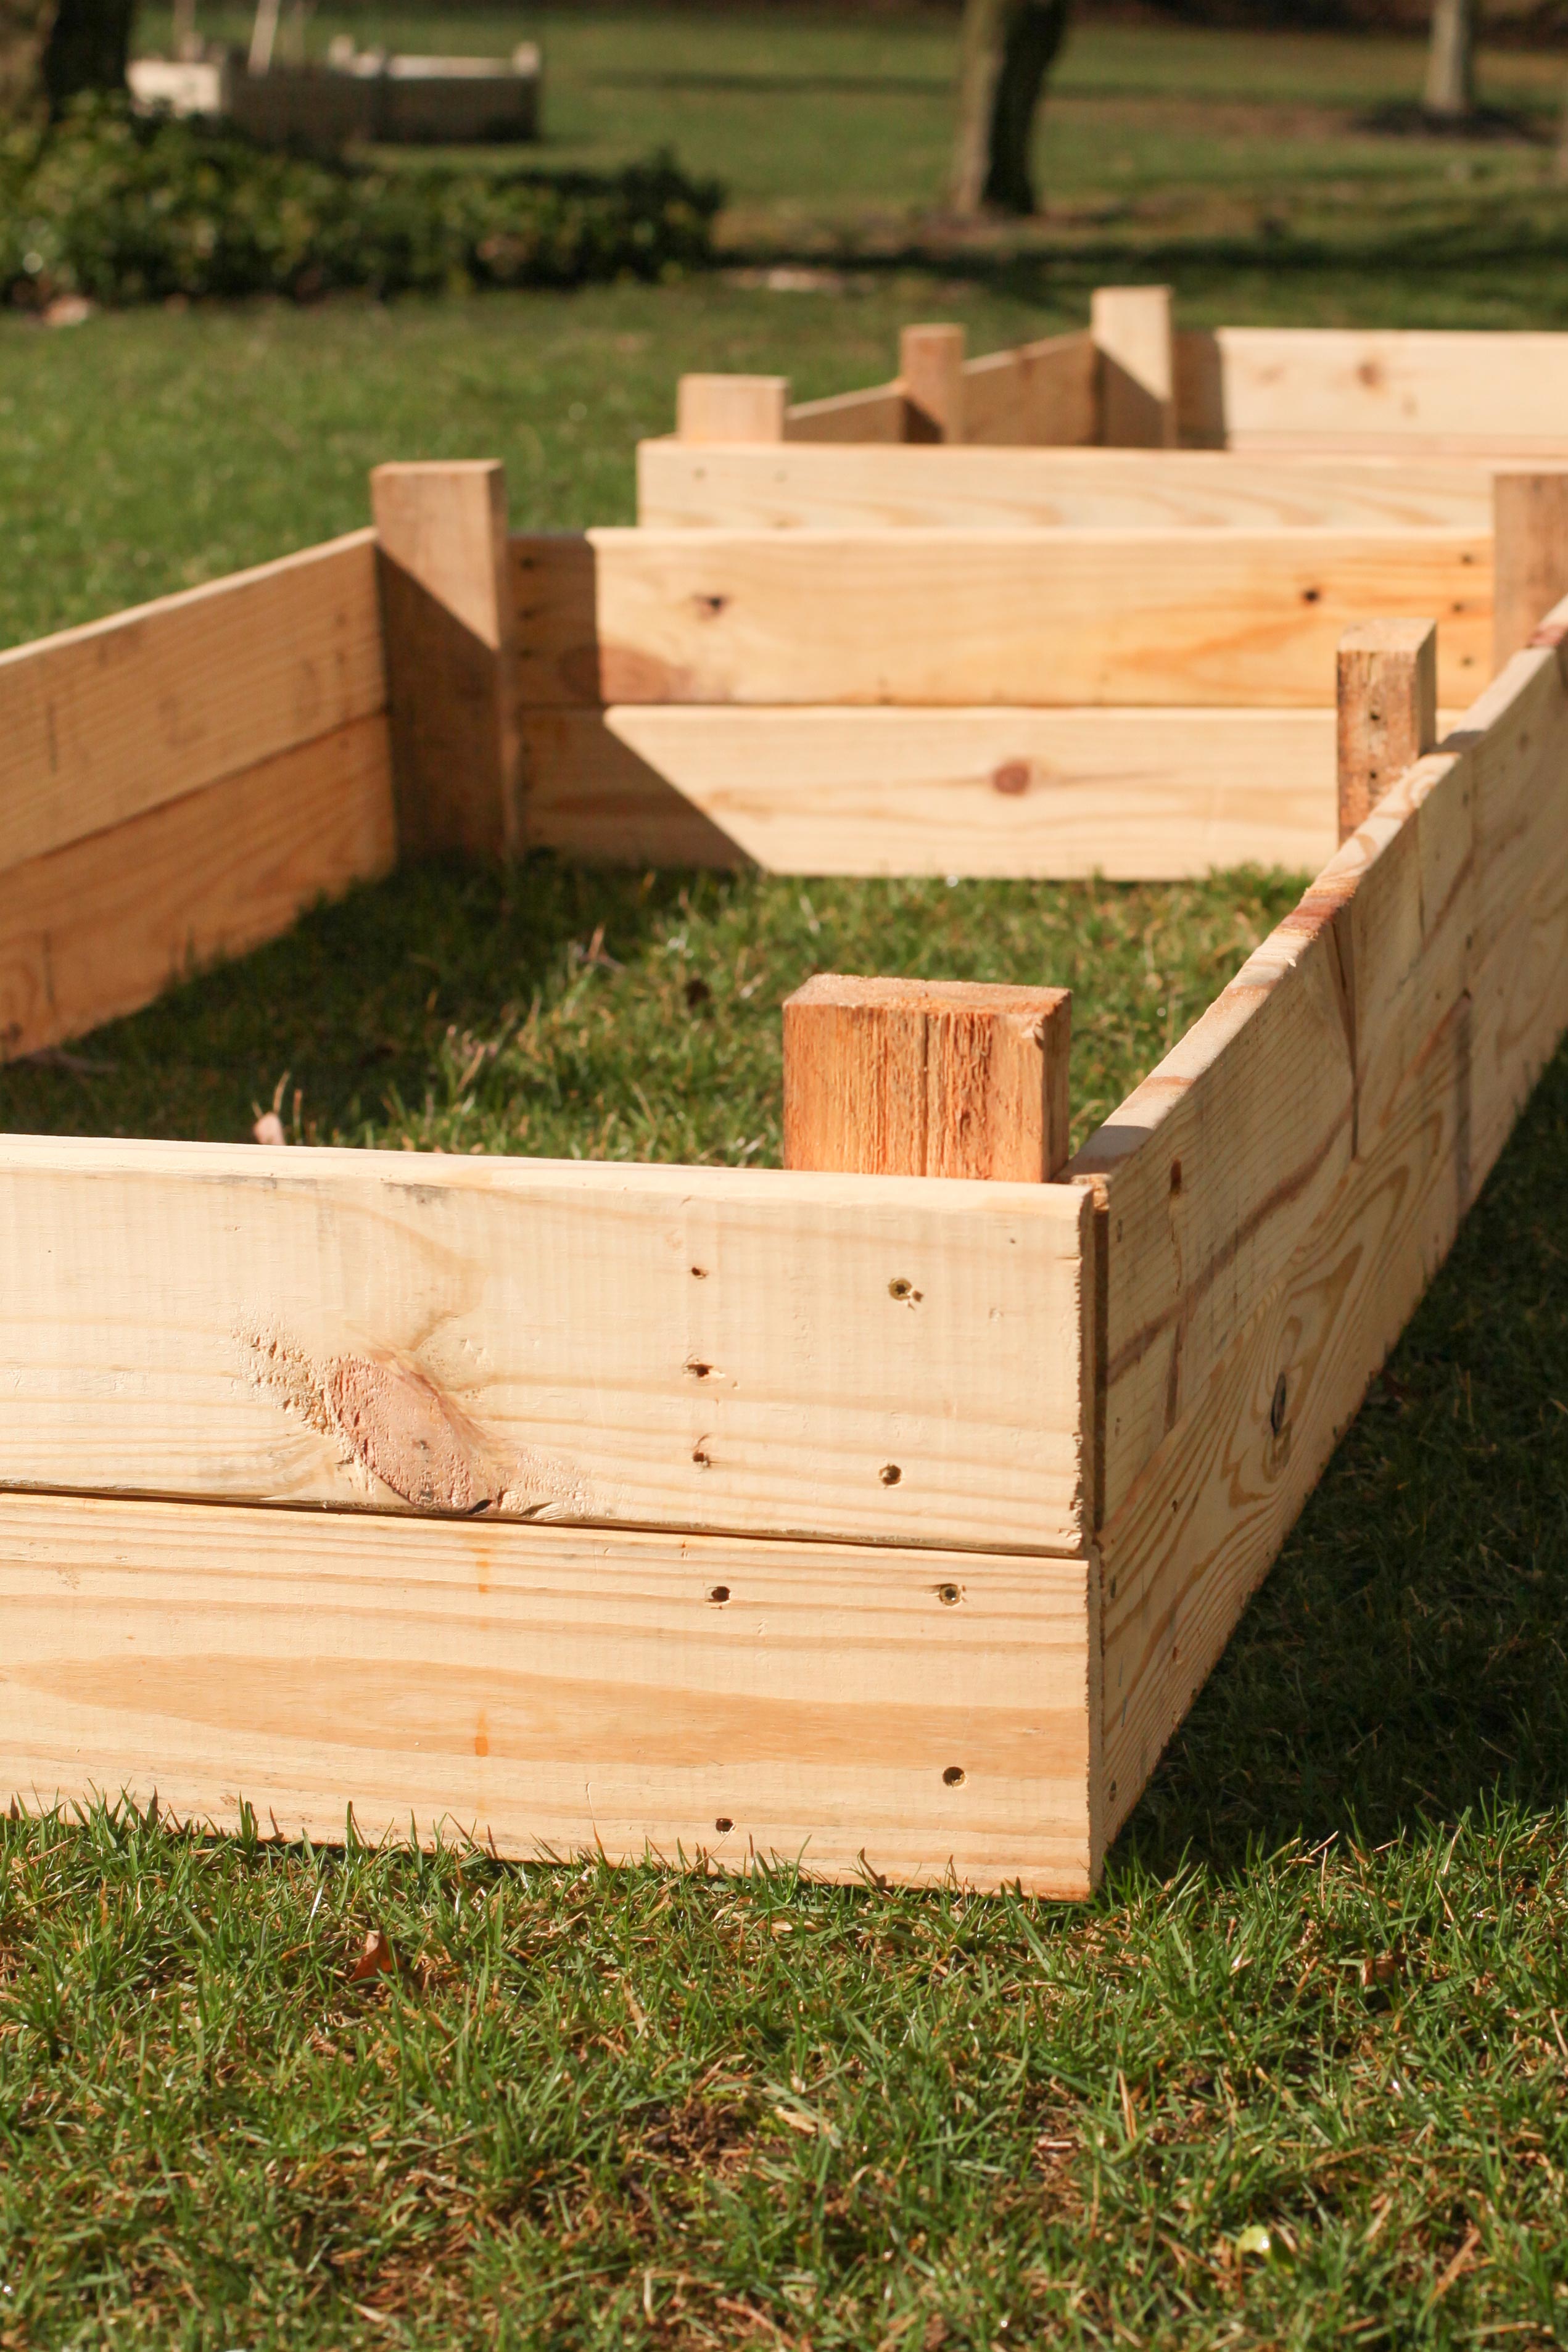
Boards will be stacked 2 high for a bed height of 10 1/2” inches. The long sides of the bed will be the length of two boards side by side and the short ends of the bed will be the width of one board.
Line your bed with any liners you plan on using. (more on this below)
Place your bed in the desired location and fill as desired. (more on this below as well)
The final measurements of my bed are approximately 3.5 ft x 6 3/4 ft x 10 1/2” in height. (Your bed may vary depending on the size of your pallets)
Benefits of a Raised Bed
- Better control over the health of the soil
- less weeds
- some protecting of burrowing critters
- no tilling required – healthier for soil
- a bit easier on your back
What Plants Work Well in a Raised Garden Bed?
- Root Vegetables: carrots, radishes, parsnips and beets
- Tomatoes
- Potatoes
- Onions
- Leafy Vegetable: kale, spinach, lettuce, swiss chard
- Cabbage
- Beans
- Broccoli
- Cucumbers
- Peppers
- Peas
- Basil
- Mint
- Celery
- Cauliflower
- Leeks
- Asparagus
- Fruits: watermelen, cantelope, strawberries and more
What is the Ideal Depth of a Raised Garden Bed?
Raised garden beds can range in height from 6 – 18 inches in depth. What you really want to think about is what you plan to grow in your raised bed. Research how deep their root systems are. Keep in mind, if you aren’t using a plastic liner and roots can penetrate down to the earth below (assuming your soil is adequate) you have more flexibility.
Should You Line Your Garden Bed?
This could be a whole post in and of itself. You’ll have to ask yourself what you’ll be planting, what your want to keep out of your bed, and whether you have concerns about contaminants and toxins in the ground below. Here are the optional liners you could use. I have put a * next to what we will be using in our raised garden beds.
- Nothing
- *Cardboard
- Newspaper
- *Landscape fabric
- Hardwire cloth or Wire Mesh
- *Chicken wire or Poultry Mesh
How to Fill A Raised Garden Bed
There are a ton of different opinions on this topic. I encourage you to do your own research and decide what’s best for you. This is how we are filling ours.
Finally, we will be adding the following on top of the wire bed lining (in this order)
- Thick cardboard
- Rotting , branches, sticks and small logs
- organic soil
- compost
- mulch
Raised Garden Bed From Pallets
Learn how to build a raised garden bed using pallets. These are super easy and can be completed in a weekend or less.. The best part is these beds cost practically nothing to make.
Materials
- Circular saw or Miter saw
- Drill
- Screw driver bit
- Drill bit (optional)
- Deck Screws
- Pallets (3 pallets per bed)
Tools
Instructions
- The first thing you will need to do is disassemble your pallets. This is probably the most time-consuming and tedious part, so hang in there!!
Be sure to remove all old nails from your pallet boards. - After your pallets are disassembled, gather all of your wood pieces together. You will need a total of 12 pallet boards plus 3 runner boards per garden bed (running boards will make the posts, explained in the next step).
- Measure the runner boards (the boards from the underside of your pallet) and mark them at the halfway point. Cut 3 boards to make 6 posts. (Again, if your pallets are a different size than mine, determine the height that you want your bed will be and cut accordingly.) Most importantly, these will be used as posts to hold your boards at the four corners of your garden bed as well as halfway down the sides to secure the boards on the long sides, end to end. (This will make sense as we go on.) If your runner boards to not thick enough you could use 2x4s
- If you’re pre-drilling holes do this now. I personally skipped this step.
- Find a flat surface to work on like a driveway. Line up one post and one pallet board. Attach by drilling the board into the base of the post.
- Take a second pallet board. Line it up to the board and post you just joined together. This should create a 90 degree angle with the first pallet board. Drill second board to post to secure.
Now you should have two pallet boards joined to one post creating a "L" shape. - Drill a second post to the end of one of the pallet boards. This should create almost a square shape minus the fourth side.
Next bring a third post to the open end of the garden bed and screw the end of the board to the post, leaving room to attach another board at this point. This will become one of the long sides of your garden bed. - After that, line another pallet board up, end to end to the board you last screwed in. Drill to the center post.
Now you will attach another corner post to the end of that long side you just built. - At this point, you will add another board to the post going horizontally creating the other short end of the bed.
- Add the last corner post by screwing it into the other end of the pallet board in the last step. This will create the other short end of the bed.
Next, you will work your way back up the opposite long side to finish your bed by adding another board to the center post. Then finally finish the rectangle by drilling to the post at the top. - Add a second round of pallet boards on top of the first row, attaching at all the posts as before.
Boards will be stacked 2 high for a bed height of 10 1/2” inches. The long sides of the bed will be the length of two boards side by side and the short ends of the bed will be the width of one board.
Line your bed with any liners you plan on using.
Place your bed in the desired location and fill it.
Click here to check out my favorite summer salad using fresh kale from my garden?
