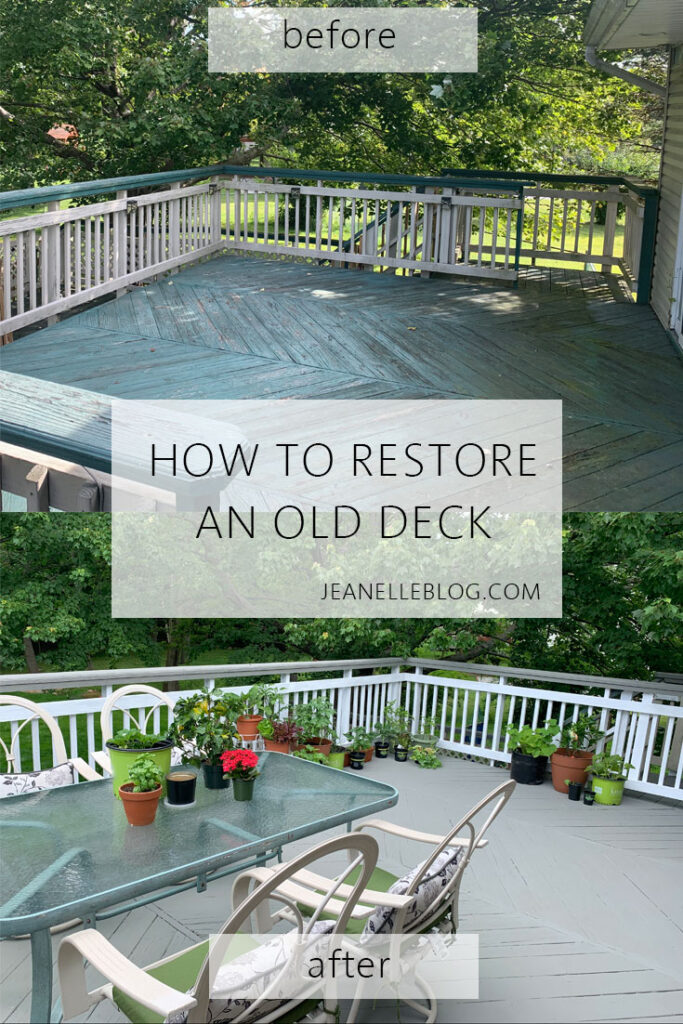
Have you been thinking about freshening up your old chipped, faded deck? Let me show you how I gave our deck a makeover with Deck Over by Behr.
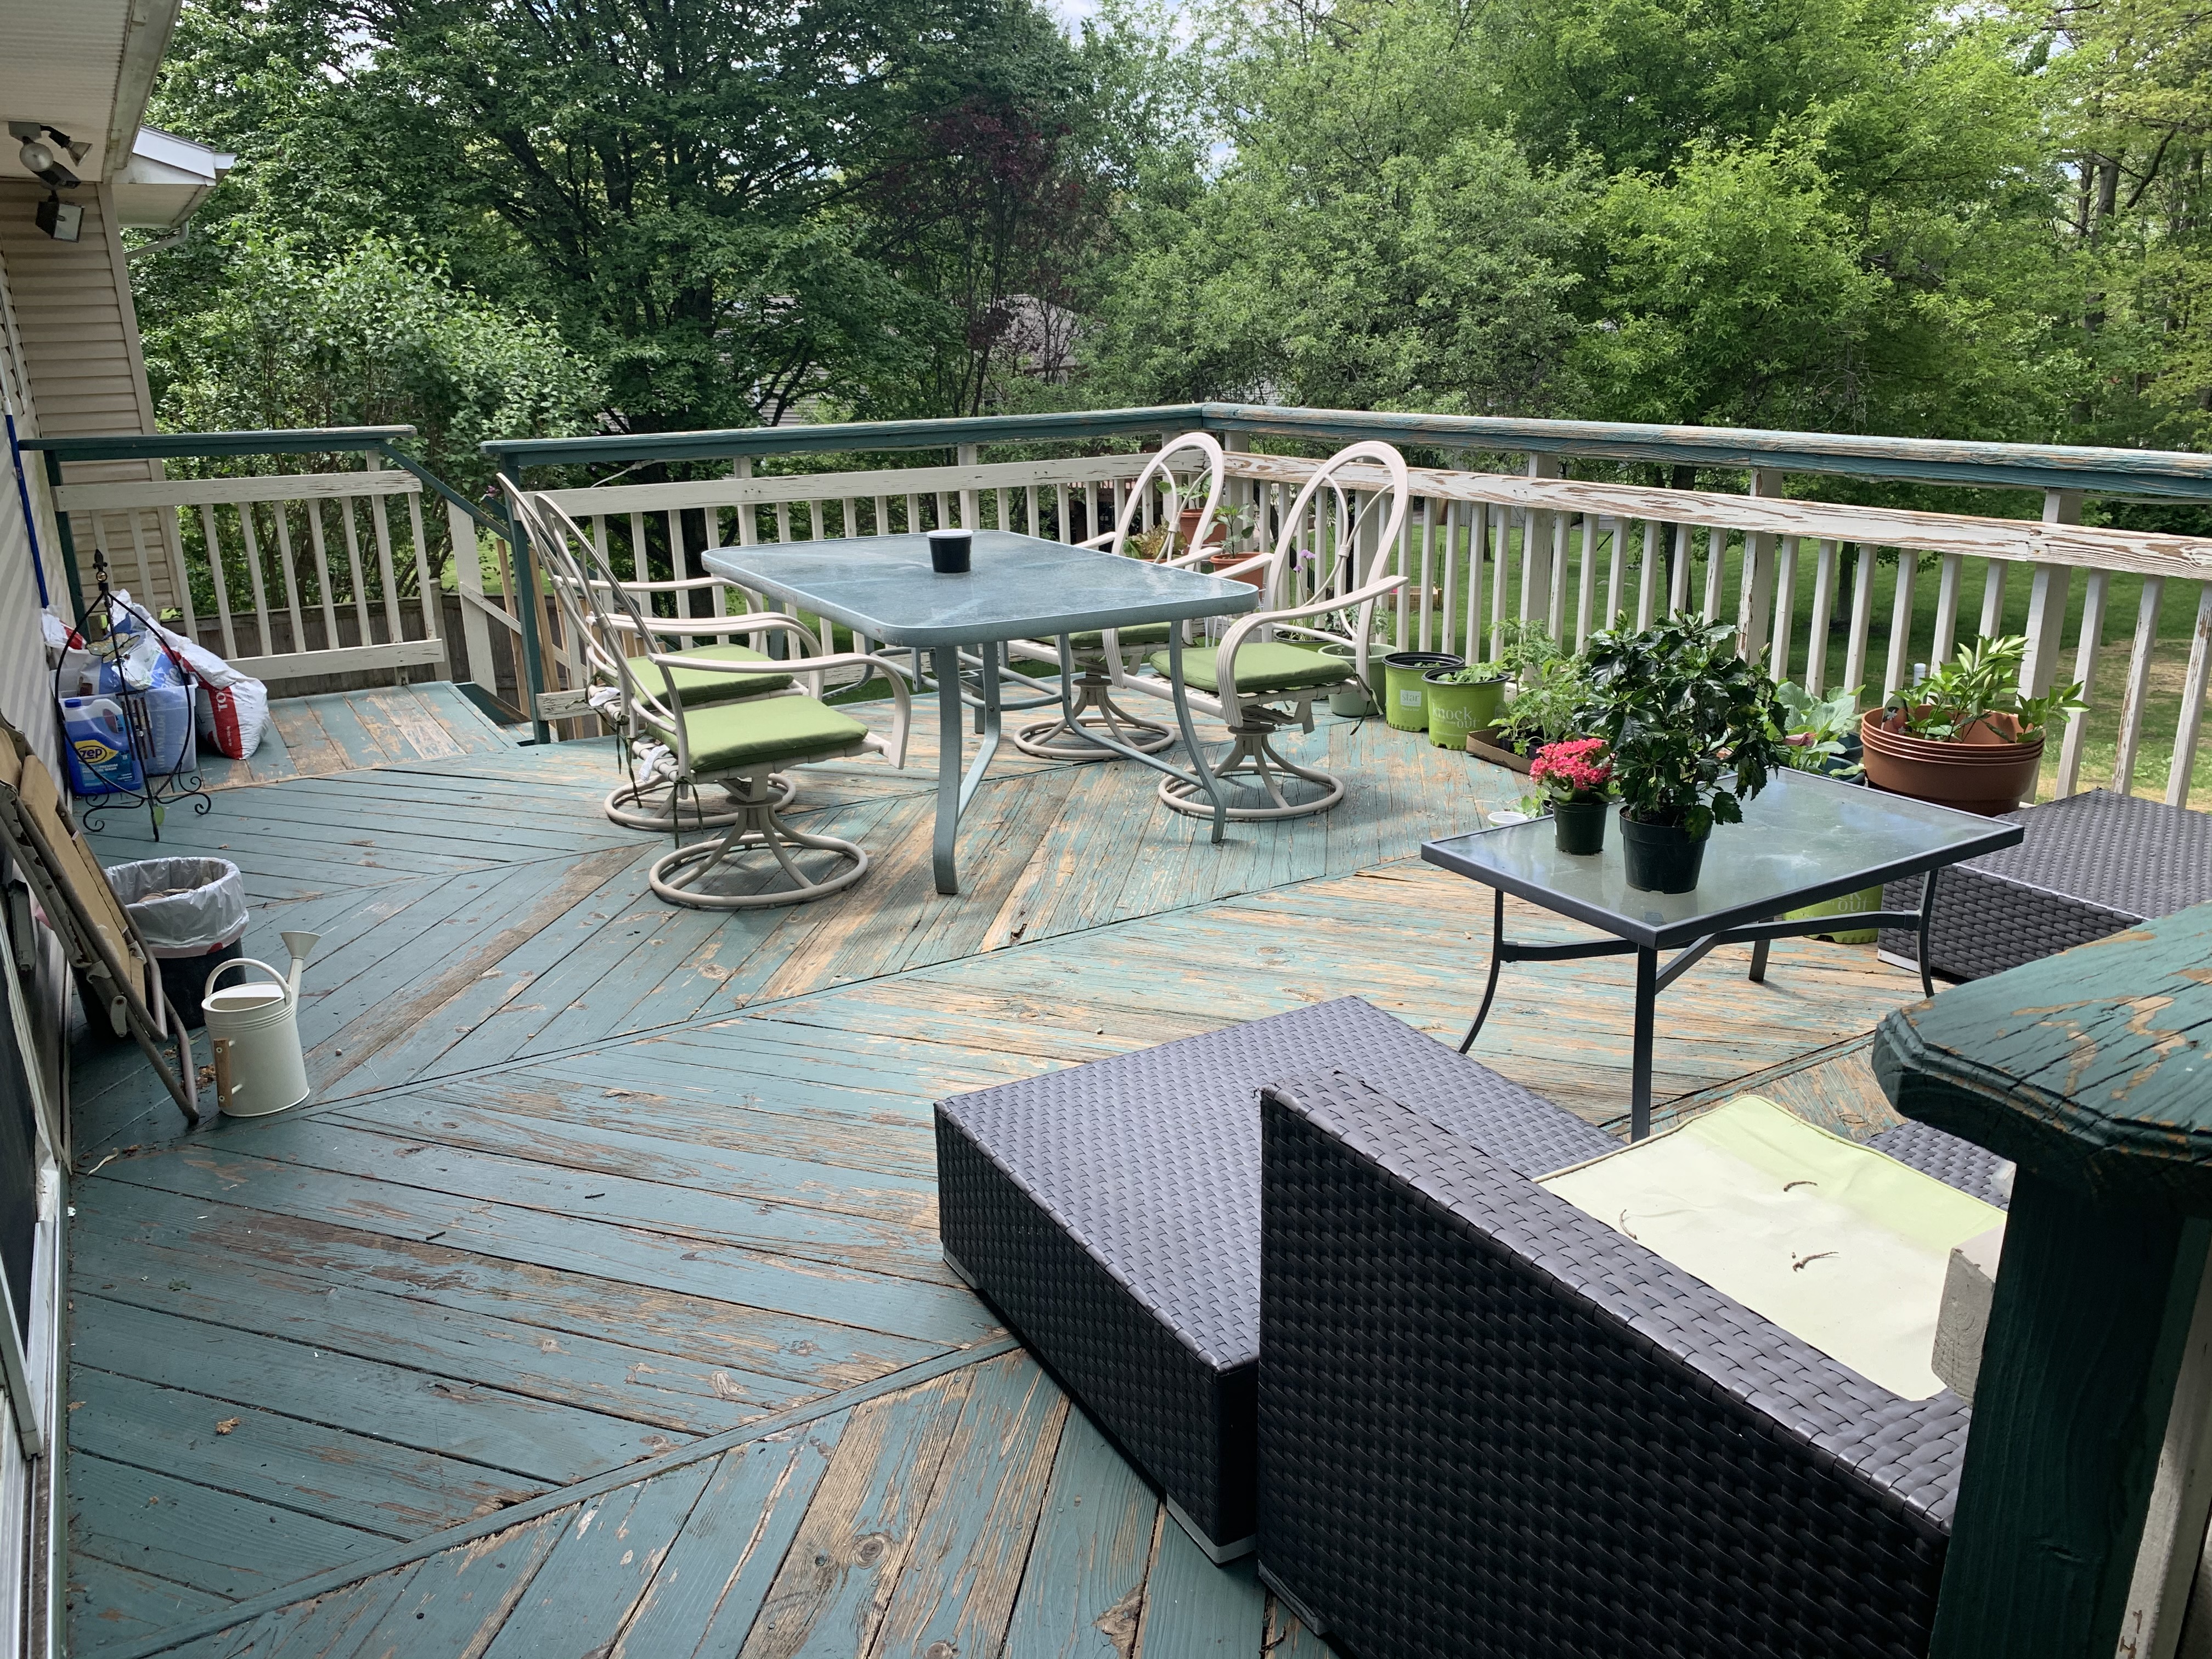
First, let me start by saying our deck was a real eye sore. We moved into our home in March. My husband and I have been doing a ton of renovations on the house. Replacing the deck at this time was just not in the budget. As you can see from the photo below this deck was in pretty rough shape. There was no way I could leave it that way. With summer coming, I knew I wanted to spend a lot of time out there. It would have driven me crazy!
Before

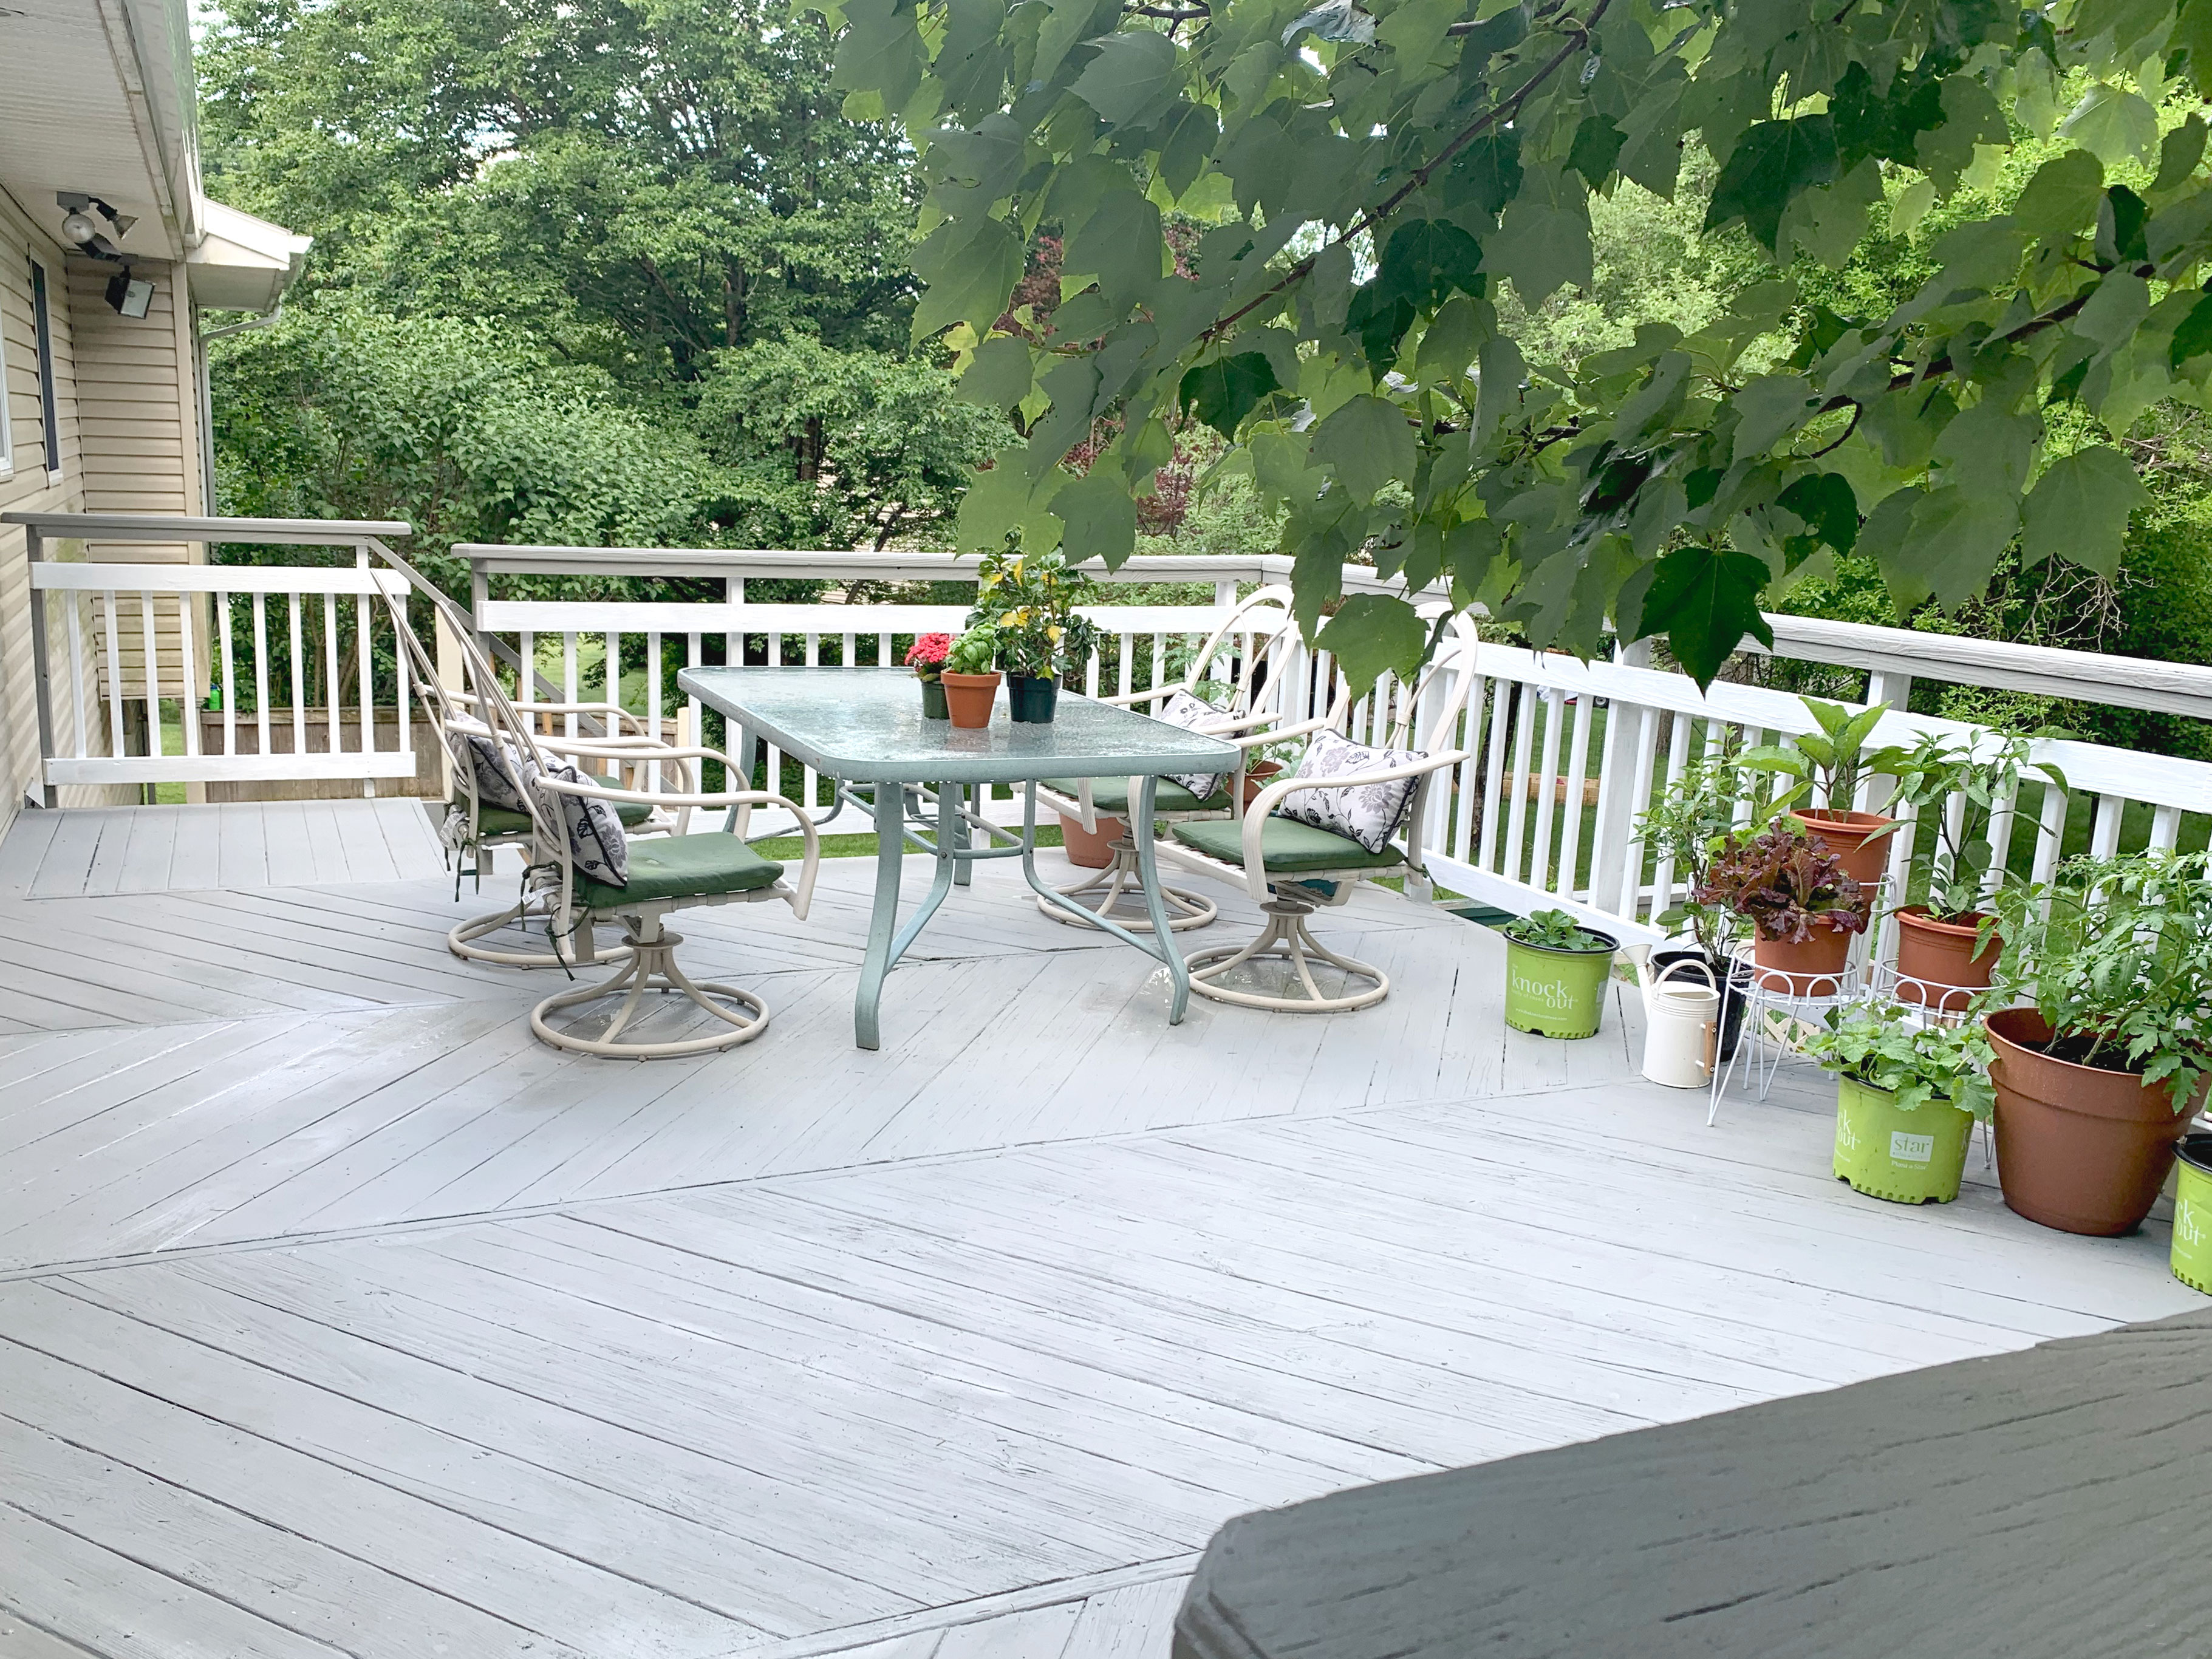
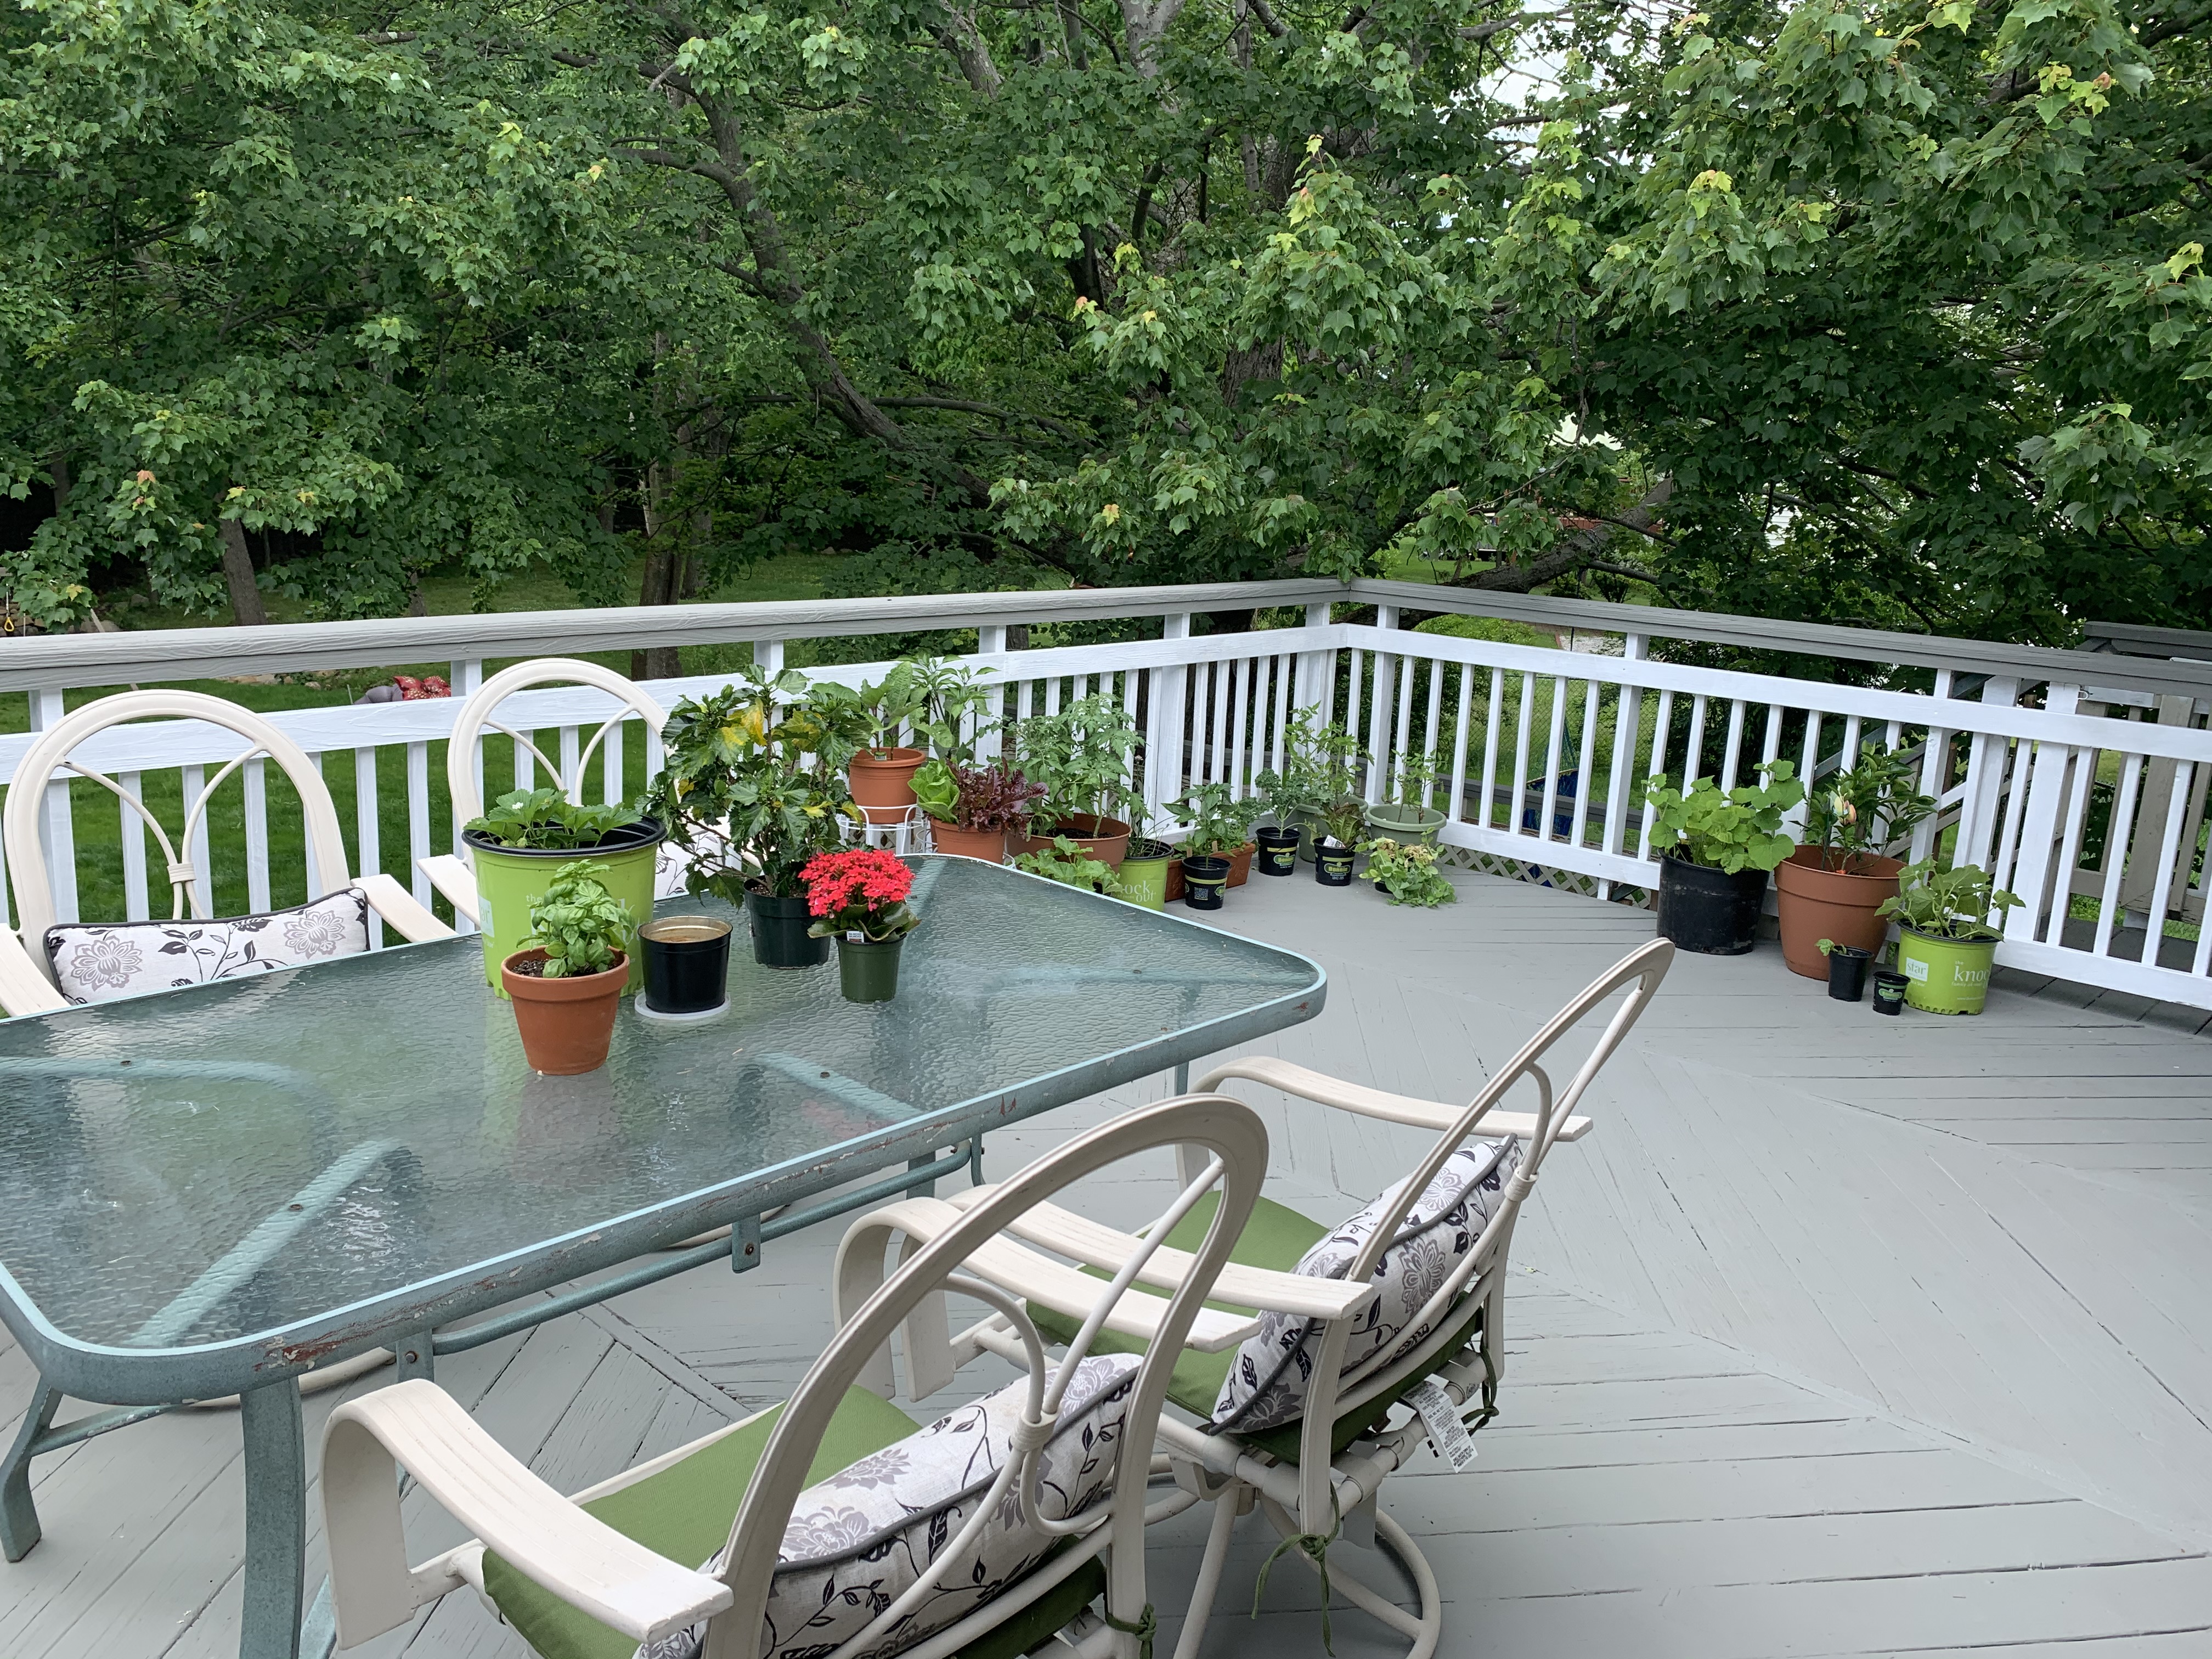
After
“This post contains affiliate links, which means I receive a small commission, at no extra cost to you, if you make a purchase using this link.”
Supplies
I did my homework on restoring an old deck and came up with a plan to give this old deck a big facelift. The best part is I was able to do it with minimal financial investment.
Here’s what you’ll need:
Powerwasher (not necessary but highly recommended)
Sandpaper
Exterior Paint and Primer in One
Tray and Liners
Prepping
First thing I did was prep the deck. A good power washing of deck to get any loose paint, dirt and mildew up and off the deck. This step is really actually fun. You are going to love watching all the dirt and ickiness just wash away before your eyes. You can either rent a powerwasher for the day or you can invest in one. I invested in this one because I knew I would be using it for lots of other projects. This is the one I have.

It’s very affordable and does a great job. One thing to keep in mind is while you are power washing be sure not to use too high power or else you will damage the wood!
Once your deck is clean and all the loose paint has been washed off you will want to let the deck dry for a solid 24 hours. Then sweep off any remaining debris. You will want a nice, clean dry deck.
Now if your deck is old, cracked and weathered like mine, you will want to go around and fill in any nail holes or divots with your Plastic Wood. I used a 3 inch spackle/knive putty like this one to do the job. Basically, you just scoop out a chunk of the Plastic Wood, slather it over the hole and then use the putty knife to scrape off any excess.
Go over it a few times to smooth it out as best you can. Then let dry. I left it over night because I have quite a few deep pockets to fill in. You want to make sure they have time to throughly dry before restoring the deck with paint.
After the Plastic Wood is dry you can sand any really rough areas, but you don’t need to go crazy because the wood on your deck is most likely pretty textured if its old.
Painting
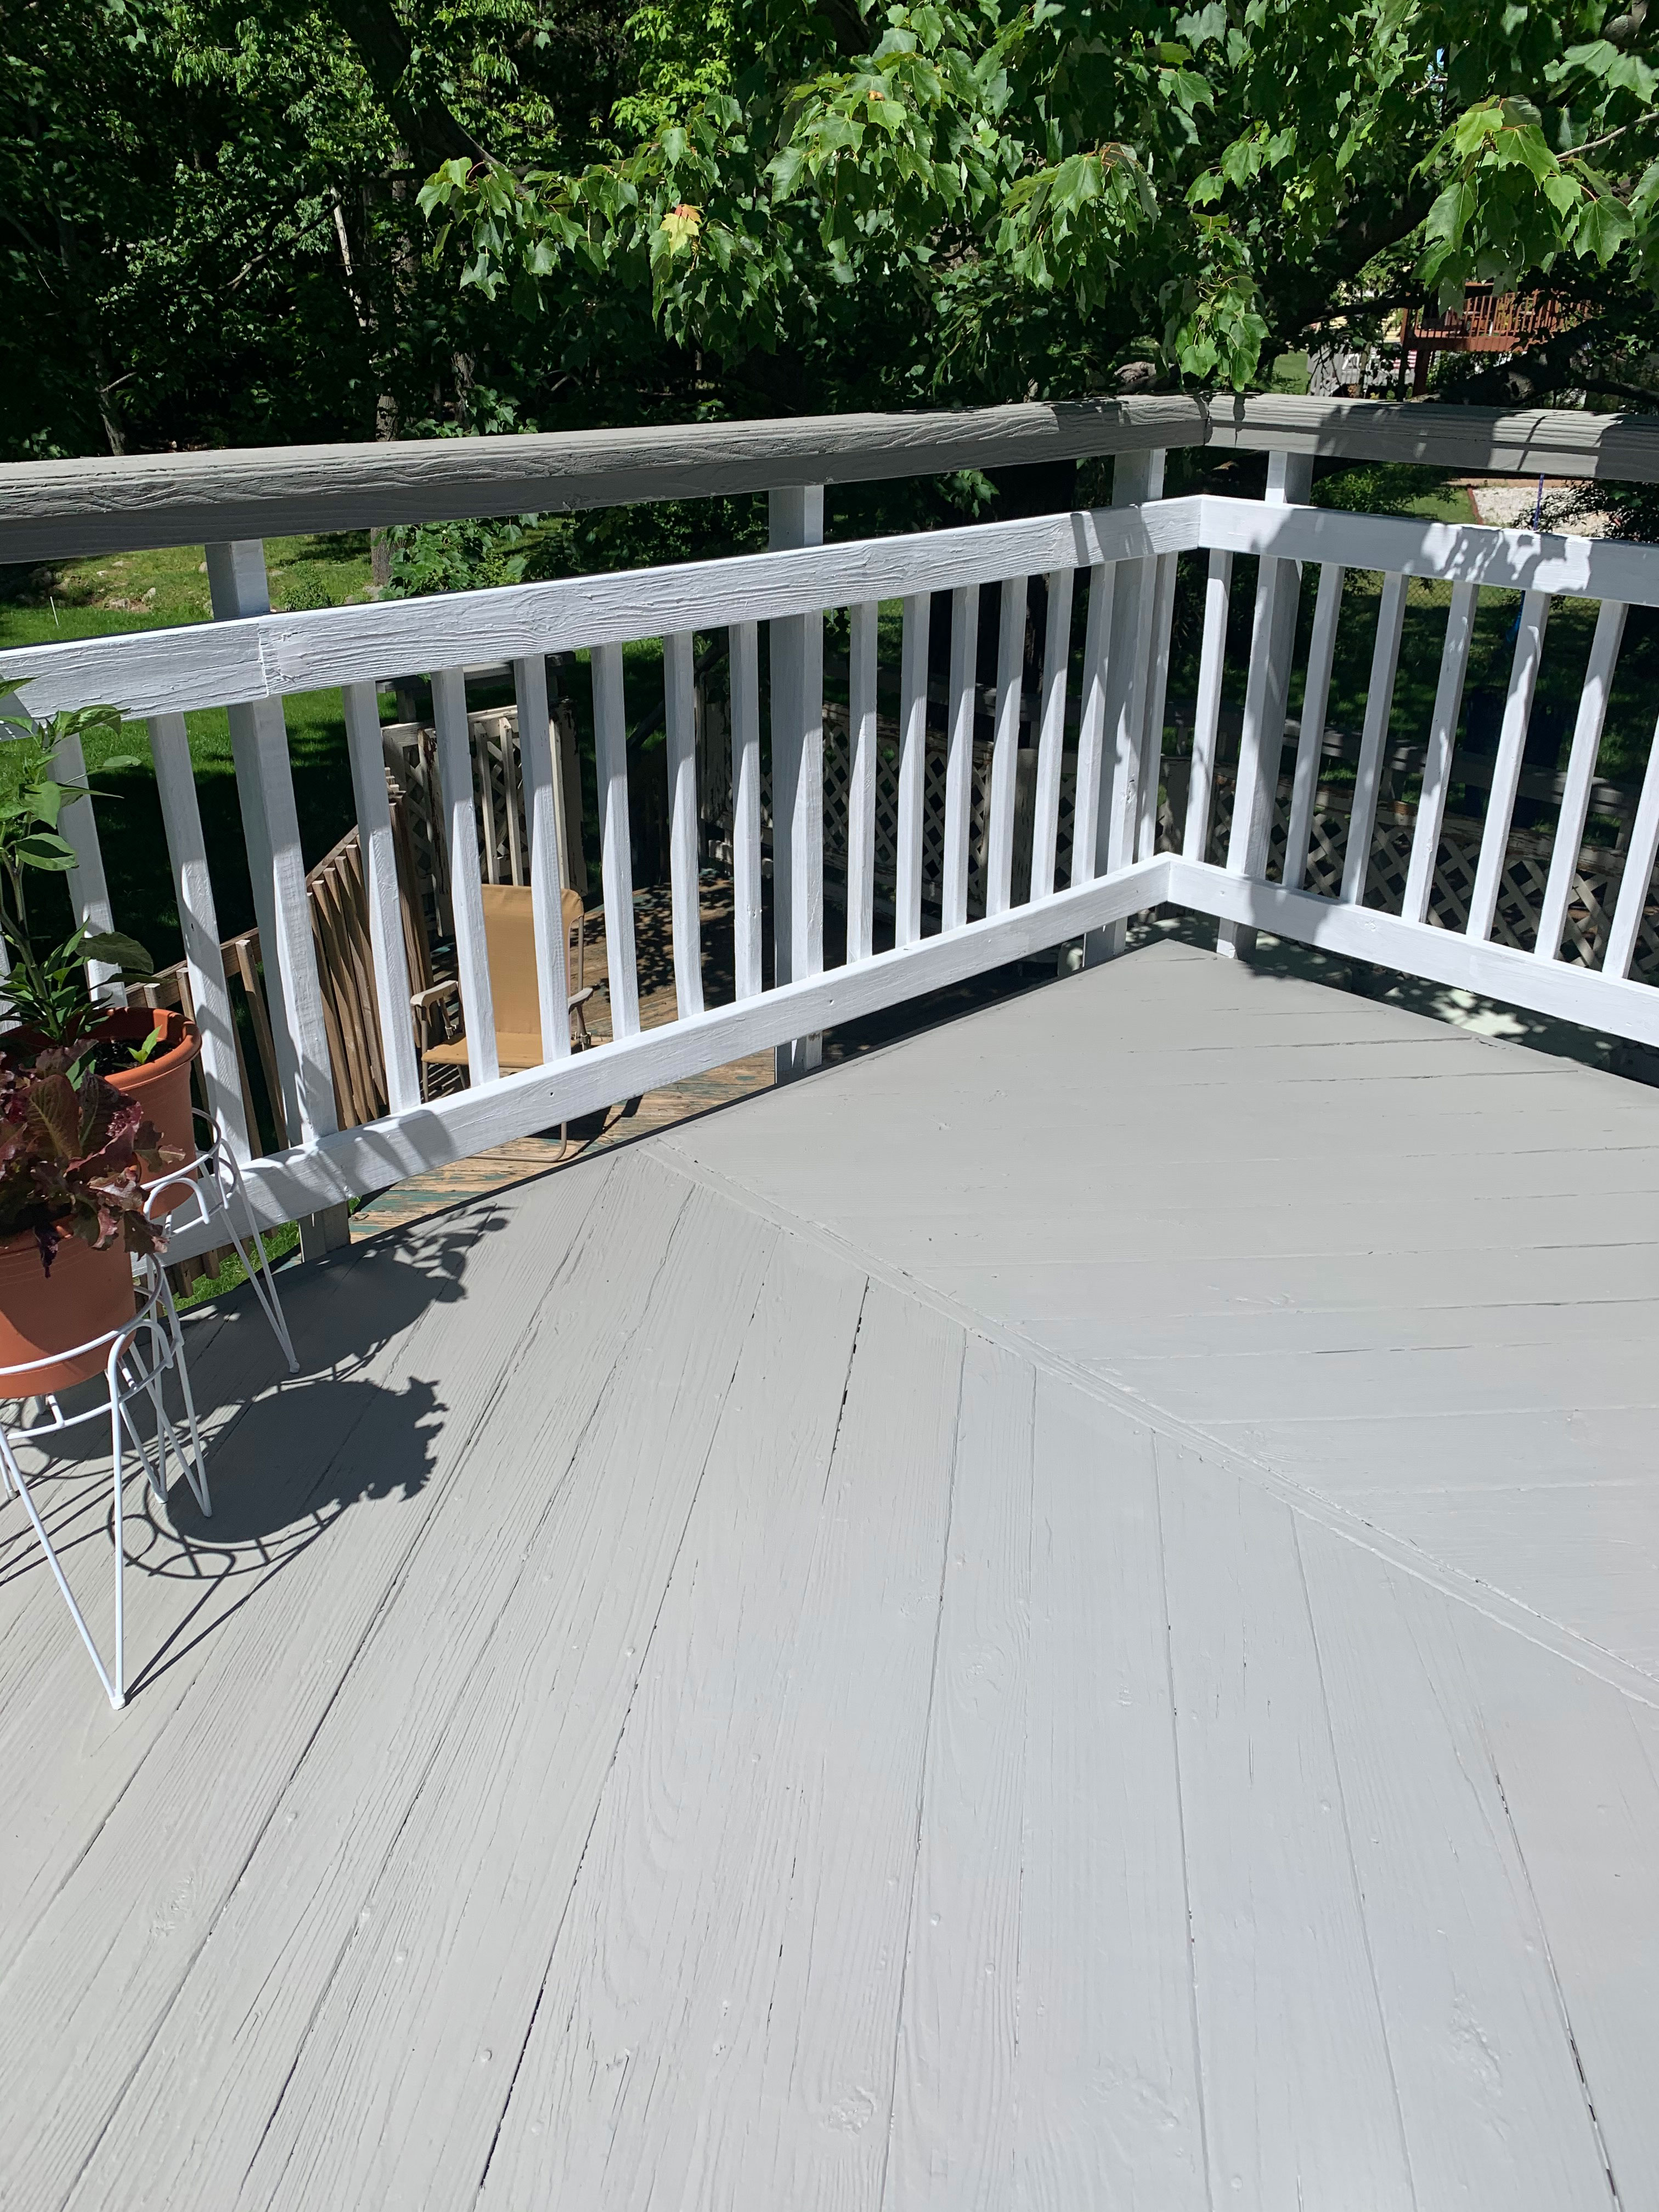
Next up is the exciting part! It’s actual painting of the deck!! Behr DeckOver is very thick so keep that in mind when you are painting. If you need to fill in larger gaps (up the 1/4 inch) use a paint brush. I did this in sections. Since I was doing the deck in two colors I started with the hand rail. Which I was painting in Drift Grey. Next, I painted the spindles and railings of the deck in Ultra White. This part is very time consuming. Throw on an interesting podcast or some good music, grab something cold to drink (perhaps a White Claw) and just “git er done”!
Keep in mind the paint will drip down to the floor of the deck so do those before the floor. Finally, I did the floor boards. And oh this was really the most satisfying part! This is where I could really see the final look of the deck. Seeing a glimpse of the final outcome was what kept me going at this point. Honestly, this took quite some time between the prepping and painting. I will say though, it was soooo worth it!

Last step, lovingly stare at your new pretty, clean deck! Then, side eye at your deck furniture and think about how you are doing to give those a makeover next! Haha Just kidding, that’s what I did. So stay tuned to see how I redecorate my newly restored deck!

