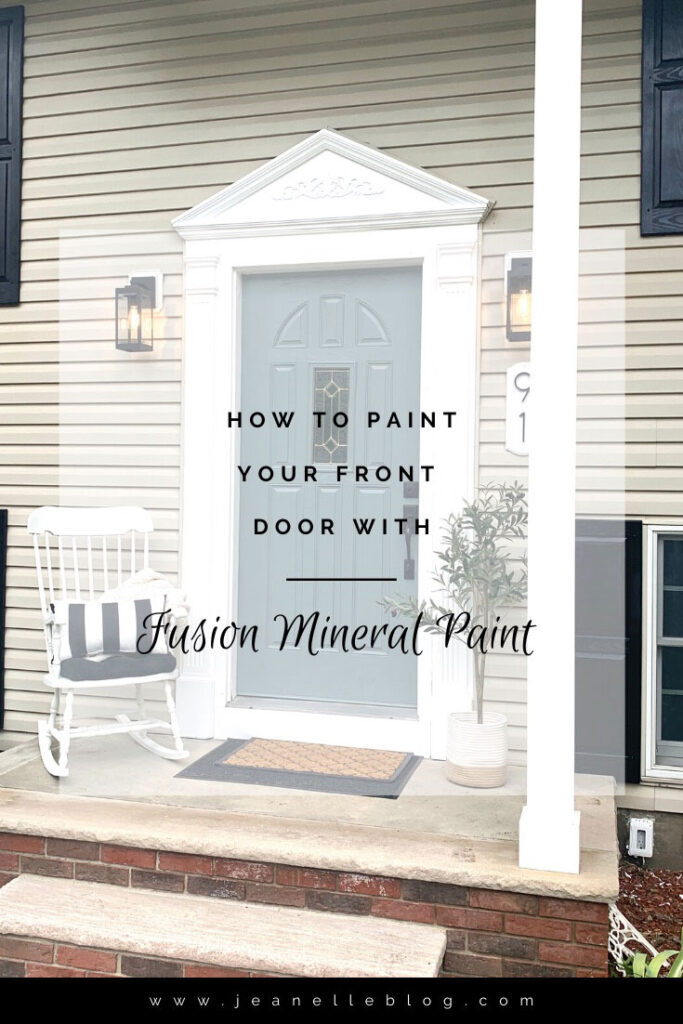
Below I will go through the step by step process I used to paint my front door in a few hours using Fusion Mineral Paint

I am so happy to say I finally took the time to do this project! I have been wanting to paint our front door since before we moved in. There have been so many things on our to do list, it just wasn’t an immediate priority. Now that it’s done though, I almost wish I had done it sooner. It was so quick and easy to our front door with Fusion Mineral Paint.
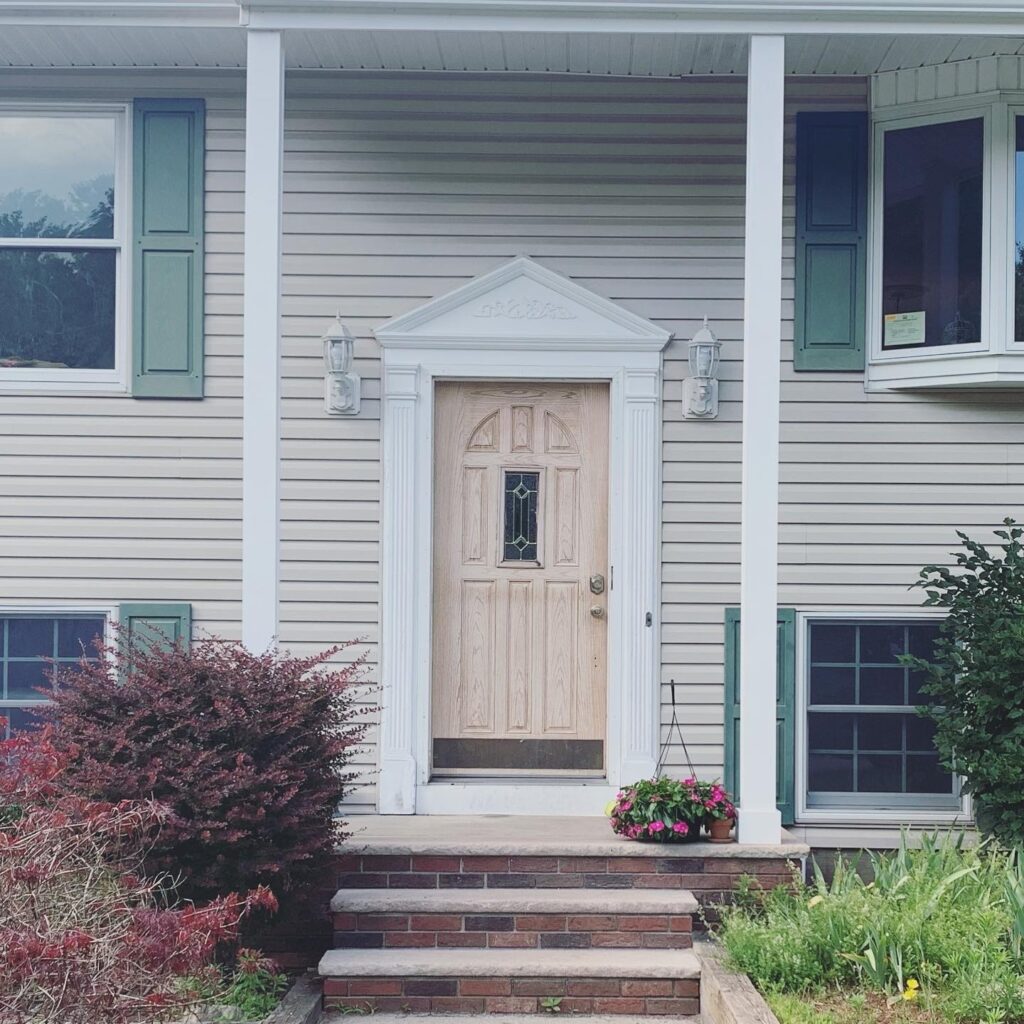
Here is what our door looked like when we moved in. The white was chipped on the moldings and the kick plate was all discolored and faded. I also decided since I would be taking the door knobs off to paint, I would replace those as well since we had to do that anyway.

Here is exactly how I painted my door with Fusion Mineral Paint:
This post contains affiliate links, which means I receive a small commission, at no extra cost to you, if you use this link.
First thing I did was powerwash the door and the chipping paint all around the door. This was quick and the easiest way to get rid of all loose paint and dirt. I have the Ryobi Power Washer and use it all the time. It was totally worth the investment. If you don’t have a power washer you can clean with warm soap and water.
Now, if your door is really dirty you could also use TSP Alternative (made by Fusion) which is a degreaser. This will help get off any grime and help your paint stick to your door better.
Side note: I painted the white trim around my door on a different day than I painted the actual door. The one I used is a white semigloss exterior paint by Behr.
The next thing I did was remove the brass kick plate. I debated on whether or not to replace the kickplate , repaint it or just leave it off completely. Ultimately, I decided on leaving it off. I felt it the door looked better without it.
After I removed the plate there were nail holes left in my door. I filled those in with Plastic Wood. After that dried, I gave it a quick sand and boom, done.
Supplies for painting your front door:
Now once your door is all cleaned and prepped grab the supples you’ll need to paint your front door with Fusion Mineral Paint:
If you are planning to replace your door knob and locks make sure you have that on hand. This is the one we chose.
Kwikset Door Knob with Deadbolt
Fusion Mineral Paint in the shade(s) of your choice. I actually mixed four colors to get my door color (I know I got a little OCD about it). I used Homestead Blue, Little Lamb, Champness and Champlain.
2” chip brush and microfiber roller
Fusion Clear Tough Coat (Gloss)
Prepping your front door:
Once I had all of my supplies gathered, I removed the old door handles and locks.
If you are using painters tape put this on now.
Then, I got my paint poured into a plastic bowl. I used a chip brush to do my entire door but you can use the roller. Many people prefer the roller.
First I painted around all the panels and around the window. Then I went back and painted the rest of the door starting at the top and working my way down. The key with this paint is to apply thin coats!
Let that dry. It didn’t take long for the first coat to dry. I waited about 45 minutes. I went in and put on a second coat. Let that dry. Fusion paint does have a topcoat built in, but I know with three kids and a dog I wanted extra protection. The I used is Fusion Clear Tough Coat.
Pour the Clear Tough Coat in a plastic bowl. Tip: I misted my paint brush between applying the topcoat to the brush. This just helps it go on a little smoother. Once that set in and dried, I put on my new door knobs and locks.

My new door makes me so happy! I also painted the shutters black to match the new door hardware and I we replacing the lights in the front.

I’m already envisioning all the cute porch decorations for all the seasons!
Would you like to see how I painted my outdoor couch cushions? Check out this blog post….. Paint Your Outdoor Couch Cushions

